Tesla Wraps
Is the 2024 Tesla Model 3 Highland Worth It?
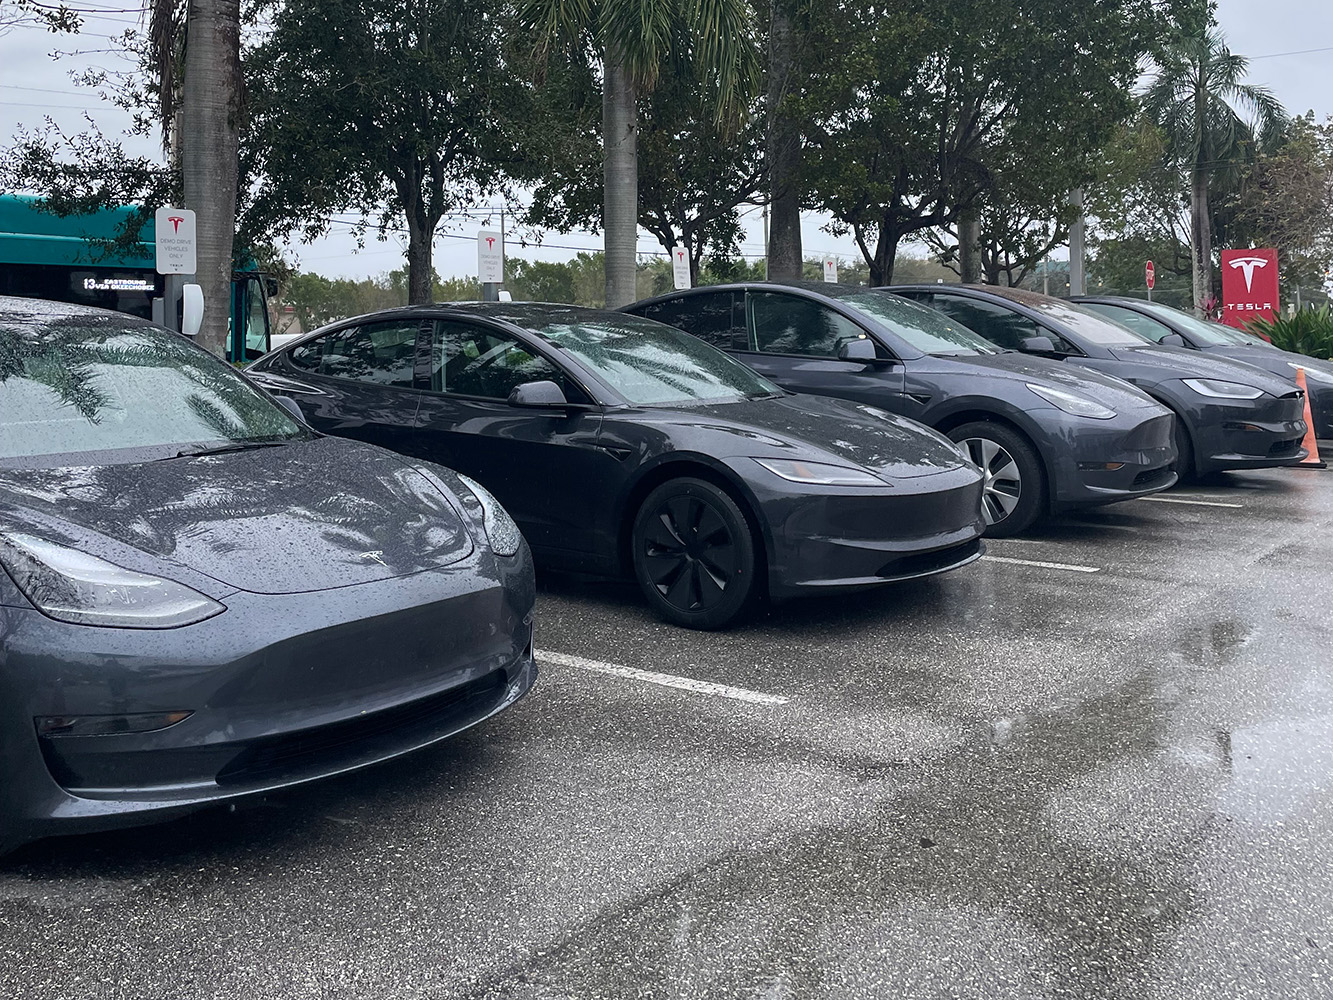
We had the great opportunity to check out the Tesla Model 3 Highland in Palm Beach, Florida while we were there packing a Cybertruck. In the video above, Ji compares the Refresh to the older Model 3 (aka Legacy). He walks through the exterior and interior before taking it to a local Supercharger. Here are the key differences between the 2024 Model 3 Highland and the older Model 3 Legacy that we noticed on our first look:
2024 Model 3 Highland Exterior
- New front, especially the bumper and headlight change
- Rear “TESLA” on the trunk hatch, not just the “T”
- Differences in appearance of the taillight
- Differences in appearance of the rear diffuser and reflectors
- Frunk wiper fluid is now located at the bottom under the frunk cargo area instead of at the top
- Hardware 4.0
- Electric trunk
- Front and rear tow bar area (Legacy only has the front)
- New Photon aero hubcaps
If you look at it from the side profile, it looks so similar that it is barely noticeable that there is a change. The doors, door handles, pillars, mirrors and rear quarter panels all look pretty much the same.
2024 Model 3 Highland Interior
- No steering wheel stems
- Dash redesigned with gray fabric instead of wood
- Personalized RGB accent lighting
- Perforated seats front and rear for heating and cooling
- Touchscreen in the rear behind the center console
- Redesign of the center console similar to the 2023+ Model S
- Side speakers on the door panels have a blind spot warning indicator
- Touch skylights
- The trunk has two side pockets instead of one
Watch the video above to see what all these cool new aspects and features look like, and then take a ride with Ji as he discusses his first riding experience.
Tesla Wraps
DIY Front PPF Kit vs Bulk Install For Tesla Model 3
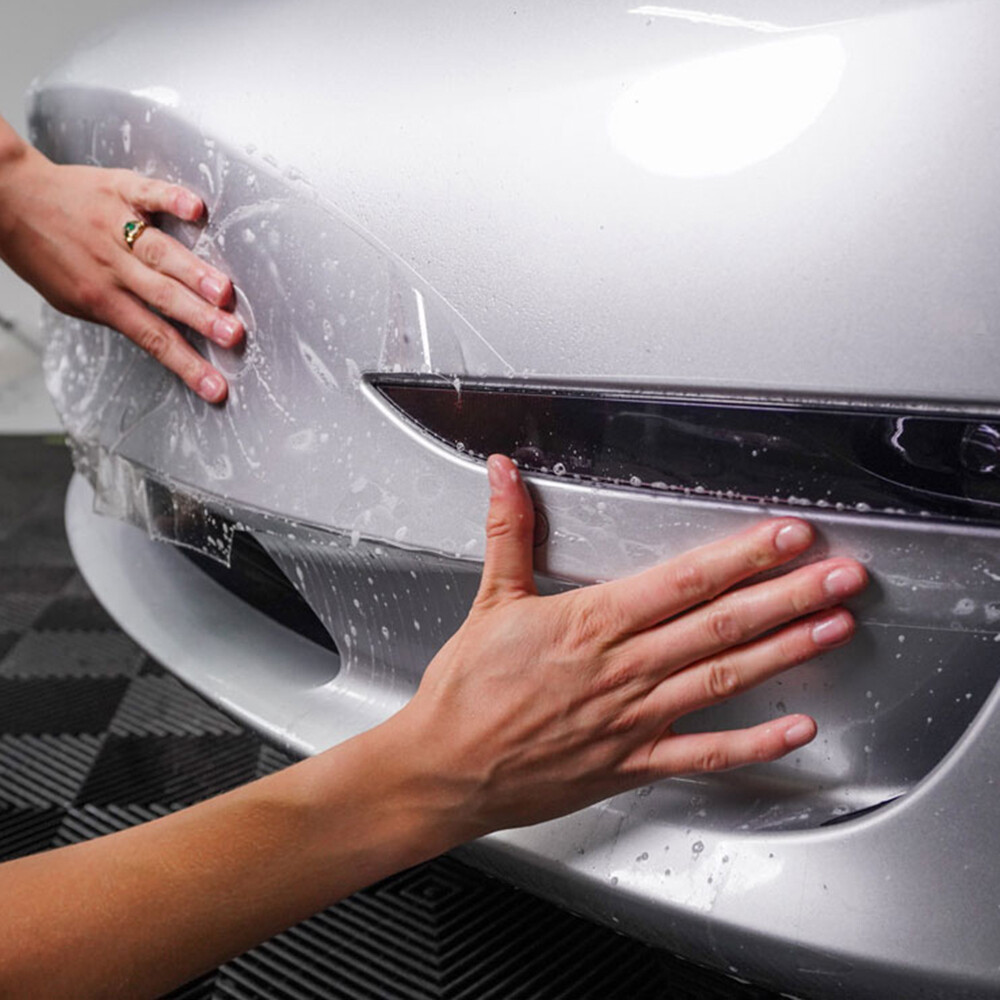
We’ve been designing and creating a front PPF kit for a few years now, specifically made for the average Tesla owner so they can install it themselves at a fraction of the cost. Our kit includes PPF for the hood, fenders, front bumper, mirrors, headlights and fog lights of a Tesla Model 3. And we don’t just give you the materials. We have a step-by-step installation course, from preparation to installation and maintenance modules.
What’s the difference?
Bulk installation of PPF essentially means that installers take an entire sheet of PPF (Paint Protection Film) and install it onto a car in sections. Installers use different methods for bonding, squeezing and stretching. Removing part of the car is also typical, such as removing headlights and handles – the autopilot on Teslas. Then perhaps the hardest part comes last: cutting it onto the panels (and sometimes wrapping it over the edges).
On the other hand, pre-cut kits are usually called PPF templates, and you can purchase them from several places online. Simply put, they are cut so that the installer doesn’t have to cut anything out at the end. What we have discovered, however, is that these kits do not provide the average DIYer with the proper tools and instructions to properly wrap their car. It is aimed more at professional installers.
That’s where we come in with a pre-cut kit that goes a step further by minimizing (even eliminating) stretch points and harder-to-install areas. Our three goals when designing this project were for it to be completely beginner-friendly, high-quality, and affordable, and we’re happy to say it’s finally here. And don’t worry! We’ll be working on the other models soon, with Model Y next.
Tesla Wraps
How to Protect Tesla Vegan Leather White Seats With Gyeon Ceramic Coating
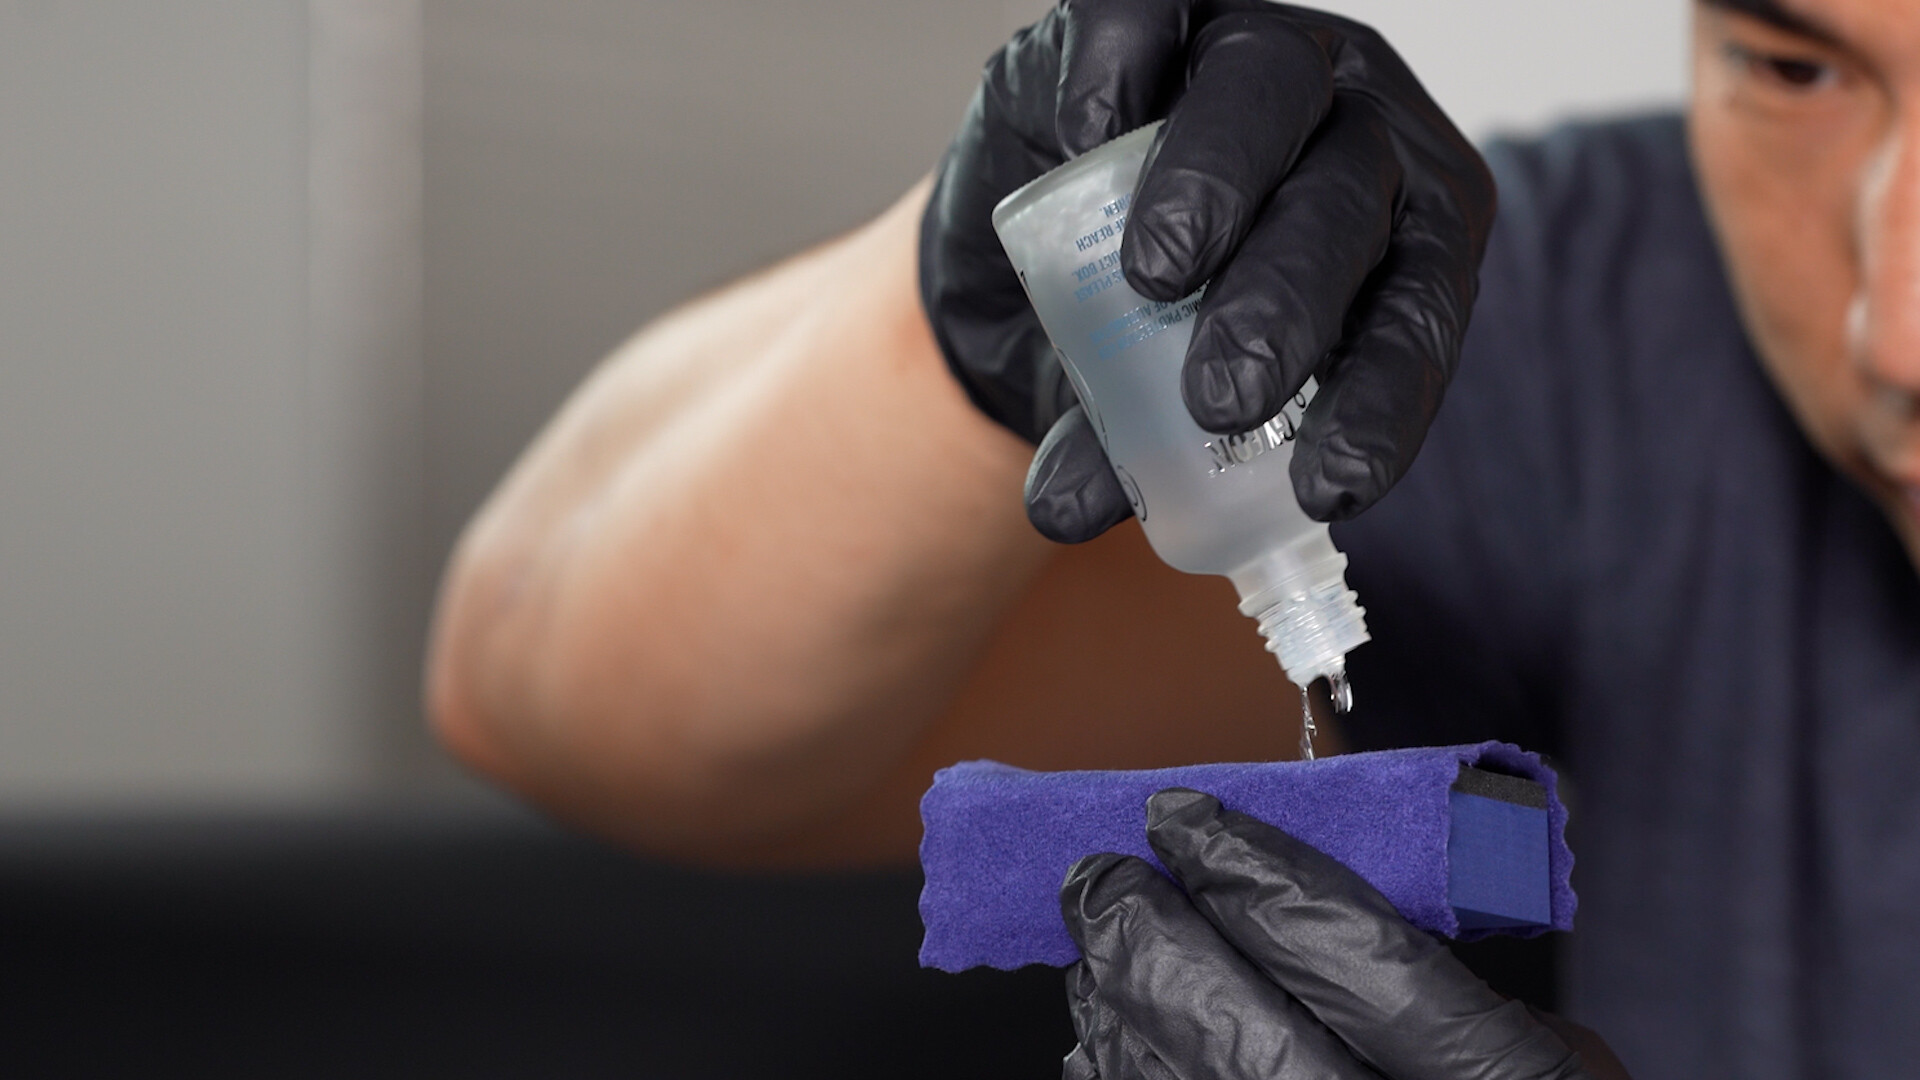
What is Gyeon LeatherShield made of?
LeatherShield Gyeon is a SiO₂-based leather ceramic coating that requires only a single layer, which is unique to ceramic coatings.
SiO₂ (silicon dioxide) is commonly known in the form of quartz. Quartz is the most abundant mineral in the Earth’s crust after oxygen. A chemically inert and relatively hard mineral, insoluble in water. It is usually used for the manufacture of glass, ceramics and abrasives. So is SiO₂ used in the construction industry to produce concrete. AND it is the basis of many ceramic coatings.
Let’s nerd out
To give you a better idea of how strong SiO₂ is, its melting point is 3.115°F (1713 °C), and the boiling point is 5342 °F (2950 °C). SiO₂ is a major component of lava. The more silica in lava, the more viscosity (thickness) it has, because silica forms such strong chemical bonds. These belts even trap volcanic gases and cause explosive volcanic eruptions. However, if there is low silica content in the lava, gases will be released quickly and milder eruptions will occur with thinner, flowing lava. So basically, the stuff that determines the shape of volcanic lava can also be put on your chair for protection.
Why put silicon dioxide in ceramic coatings?
SiO₂ ceramic coating is the best known and most commonly used type of ceramic coating. And with good reason. It scores a whopping 9H on the hardness scale (highest verifiable rating). Due to their insoluble properties and incredible surface tension, these coatings provide a smooth surface and bring out the rich color beneath. It is an extremely thin layer of protection, but provides an impermeable barrier against oils, spills, dirt and UV rays.
Ceramic coating can be applied over your car’s paint, wheels and glass to create a hydrophobic coating and protect the paint to some extent. And LeatherShield Gyeon is specially designed to protect the leather of your interior.
You may be wondering how this differs from PPF, as these two terms are often associated with each other. Check this out video for more information about the differences between PPF, ceramic coating and vinyl.
About Gyeon LeatherShield
It protects all leather upholstery from dirt, spills, UV rays, oils and grime. It leaves a healthy satin finish and doesn’t change the look and feel of your leather so you really can’t tell it’s there. If you have white leather like me, you’ll be happy to hear that it prevents the transfer of dyes from jeans. Big win. This one coating should last about 1 year before reapplication is necessary. However, if you drive every day, your driver’s seat and the area around it may need to be recoated before the 12 months are up. If you are a daily driver I would recommend every 6 months.
Tesla Wraps
5 Ways You Can Protect Your Tesla Under $100
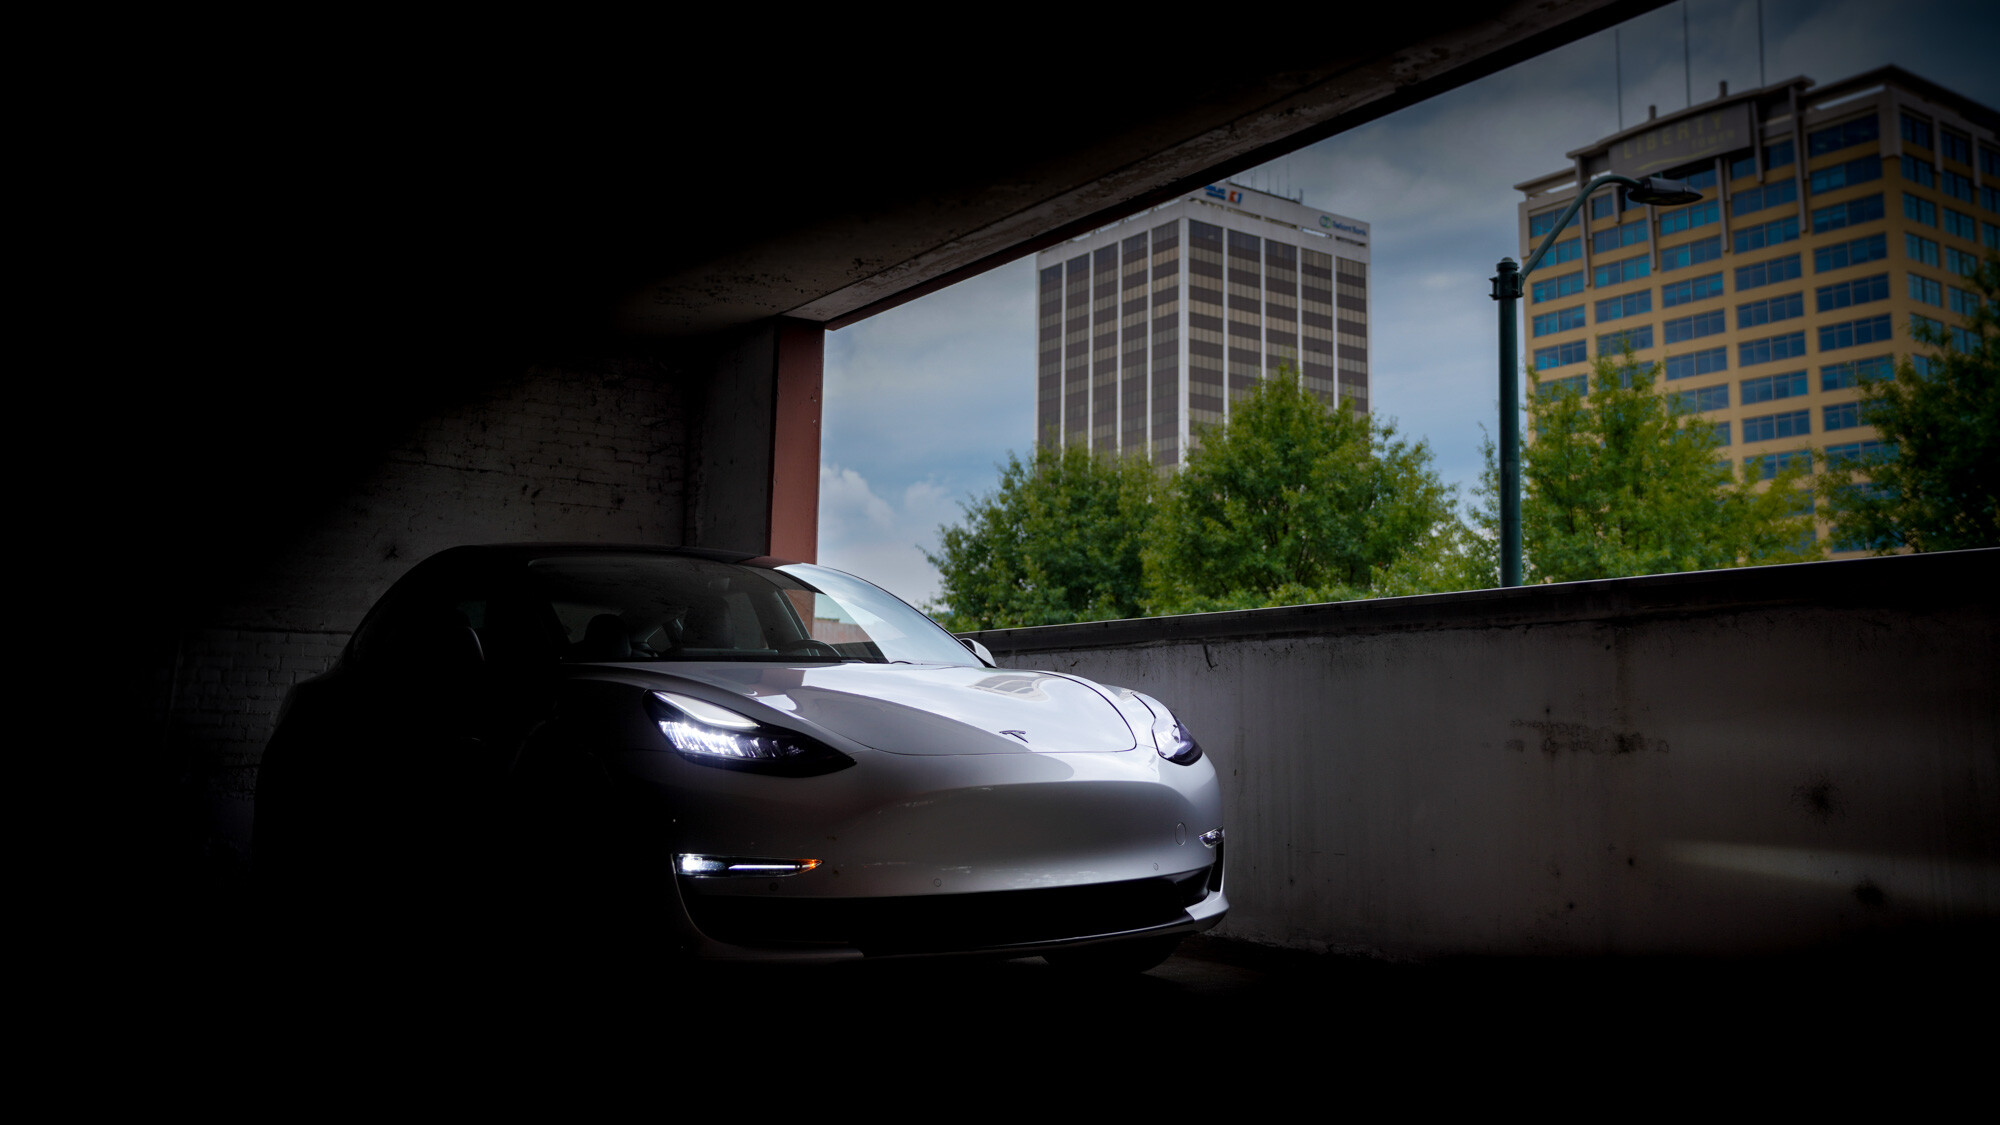
Did you just get your brand new Tesla? Well, first of all, congratulations. It’s a milestone! Secondly, you are probably looking for effective ways to keep it looking shiny and fresh. So, what’s the best way to go about this? Paint protection film (PPF)! It is the ideal method for car enthusiasts like you to protect your precious cars. But what is PPF? How do you install it? How long does it take? We have these answers and more.
What is paint protection film?
As a Tesla owner, you’ve probably noticed that Tesla’s overall paint job isn’t really on par with the technology behind it. It has a very thin paint that flakes off easily. As unfortunate as it is, there are several methods you can use to protect your Tesla AND its trade-in value, and PPF is one of them.
PPF is applied to the surface of the paint to create a thick barrier that protects it from rocks, bird droppings, stains, scratches and other elements. It also brings out the shine of your paint and keeps it always looking new. Many films have a hydrophobic coating, which makes your car very easy to clean.
Why should you invest in PPF?
Now that we’ve introduced you to the idea of PPF, here are some of the long-standing benefits it brings to your Tesla.
- It has self-healing properties
- It hides microscopic imperfections
- It prevents wear and scratches and protects your Tesla against daily use
- It is hydrophobic, making cleaning easy and etching more difficult
- It is cost-effective because you no longer have to spend money on future paint touch-ups or corrections
- It lasts up to 10 years
- Technology has advanced so much that the films no longer crack or yellow
What are the different ways to protect your Tesla?
You can go to a store that offers full or partial coverage. This can be expensive, but effective! However, if you’re considering installing PPF for your Tesla and you’re all about DIY projects, let’s take a look at some of the options we offer at Tesbros. All our kits provide protection for high impact areas and we only use the highest quality materials. The best part? YYou can find these PPF kits at extremely budget-friendly prices that will make you and your Tesla happy!
1. PPF threshold protection
Because there is so much foot traffic, PPF protects this area from scrapes and scratches that can cause your Tesla to become dull and the paint to peel.
Tesla Wraps
Why Paint Protection Film (PPF) Is The Best Way To Protect Your Tesla
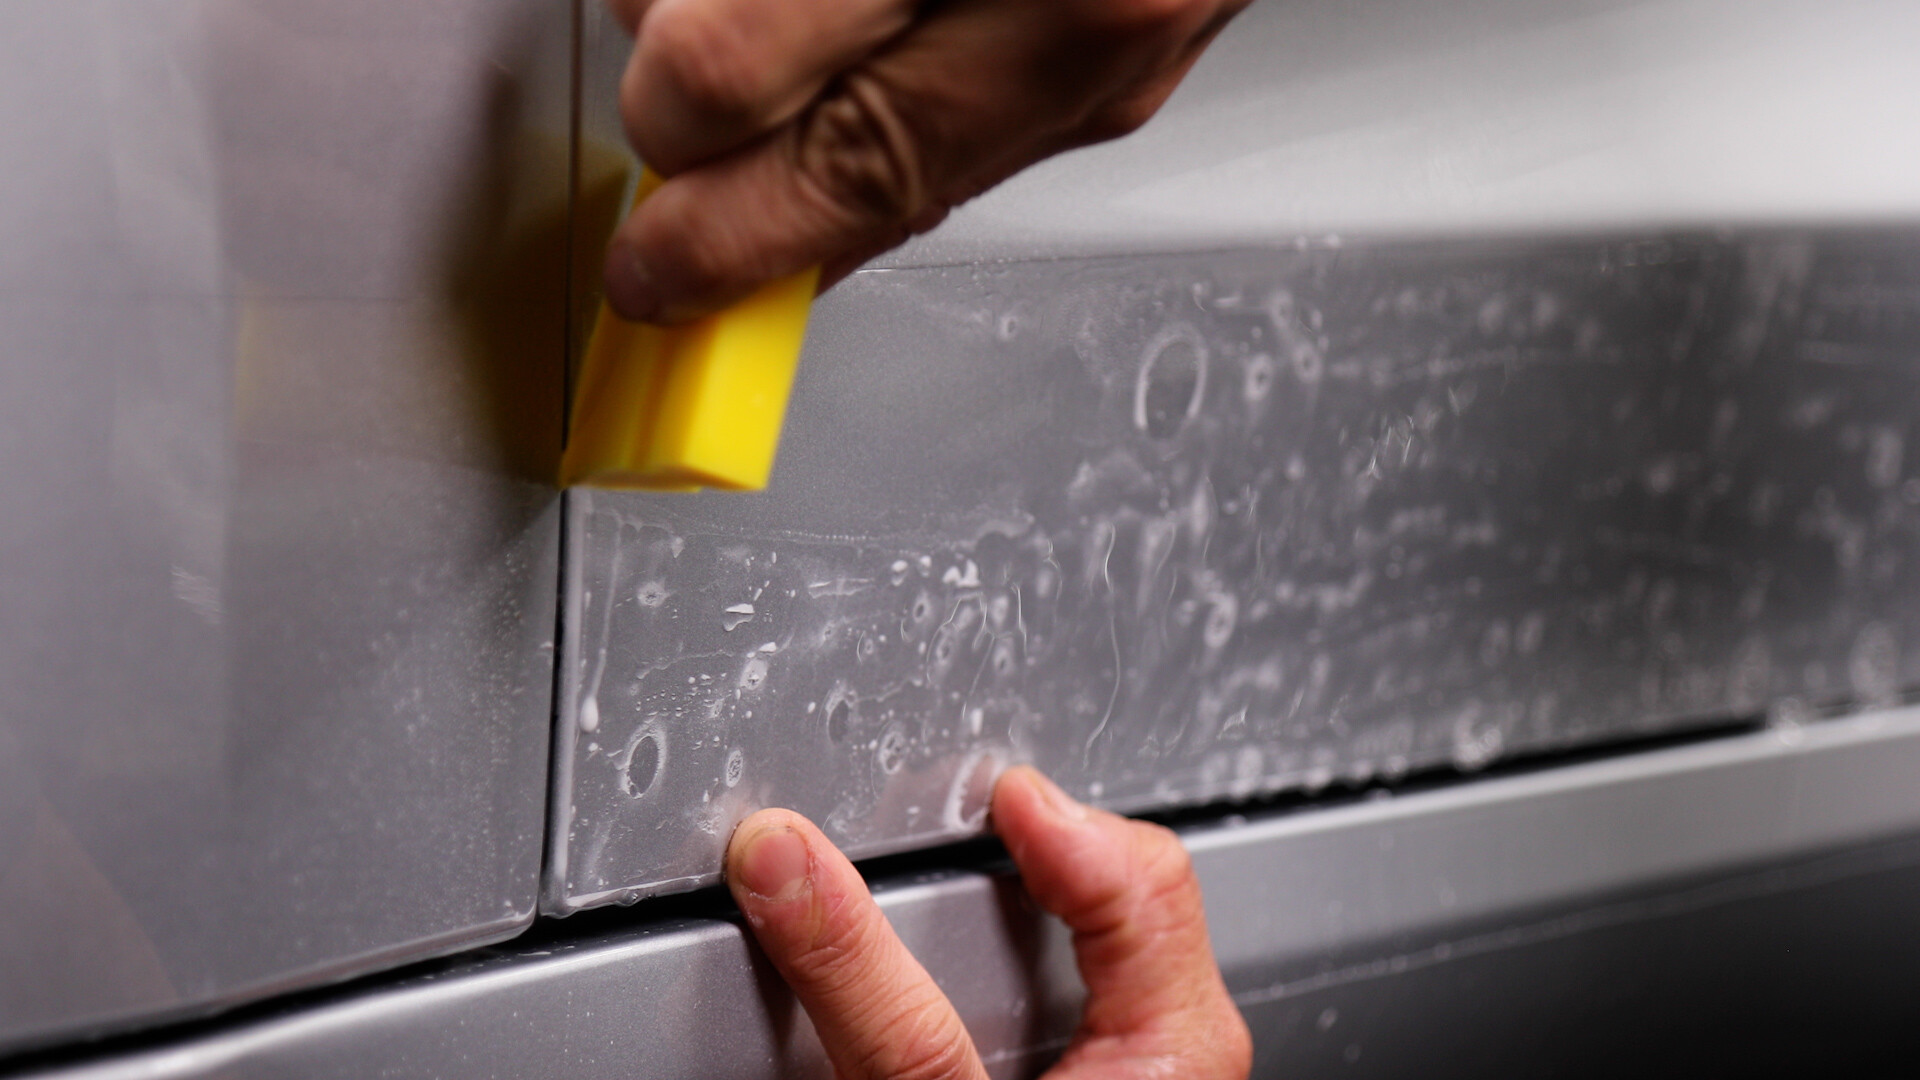
Now that you’ve reserved your Tesla, you’re probably looking for effective ways to protect it. PPF is the best way to keep your paint shiny and scratch-free and help maintain its resale value. Unlike a paint job, PPF is removable and does not damage the original paint. It ensures that it stays beautiful for up to 10 years without yellowing or cracking like before.
What is PPF?
PPF is essentially a clear polyurethane film that is applied over the body of your Tesla. This barrier protects against any road collisions or environmental damage. This includes acidic bird droppings and insects that typically etch into your clear coat. The idea behind installing PPF is to keep your paint looking new for years to come, without any stone chips, scratches or stains.
Our PPF kits are very suitable for DIY; you can install them easily and cheaper at home. So if you are looking for a budget-friendly solution, PPF kits are the way to go. You will find them in the collection at the end of this article.
At Tesbros we offer PPF kits from leading manufacturers such as Avery Dennison and STEK. Now you can confidently drive around in your Tesla and tackle any terrain without having to spend hundreds of dollars on scratch repairs or paint chips, no matter where you sit behind the wheel.
Why should you invest in PPF for your Tesla?
Since you’re a Tesla fan or a previous Tesla owner, you’ve seen that their paint jobs aren’t great. The paint is thinner and flakes off easily. After 10,000 km my rockers are broken and the bumper needs a makeover.
Another reason you might want to get PPF for your Tesla is its inherent design. Teslas have a flatter and wider front end, making it much more likely for dirt and insects to hit the front end. Also the wheels. The rims protrude quite a bit, causing particles to land on your rockers at high speed.
Because most PPFs have a hydrophobic coating, it is designed to repel moisture, dirt, feces and insects, making it much easier to clean and keep clean.
When should you install PPF?
We recommend that you purchase PPF as soon as you purchase the car. If you decide to wait before getting PPF, be sure to paint and touch up properly before installing PPF. This is not necessarily a problem, but leaves room for possible imperfections in the installation job and increases the price.
Tesla Wraps
DIY Tips to Remove Paint Protection Film (PPF) at Home
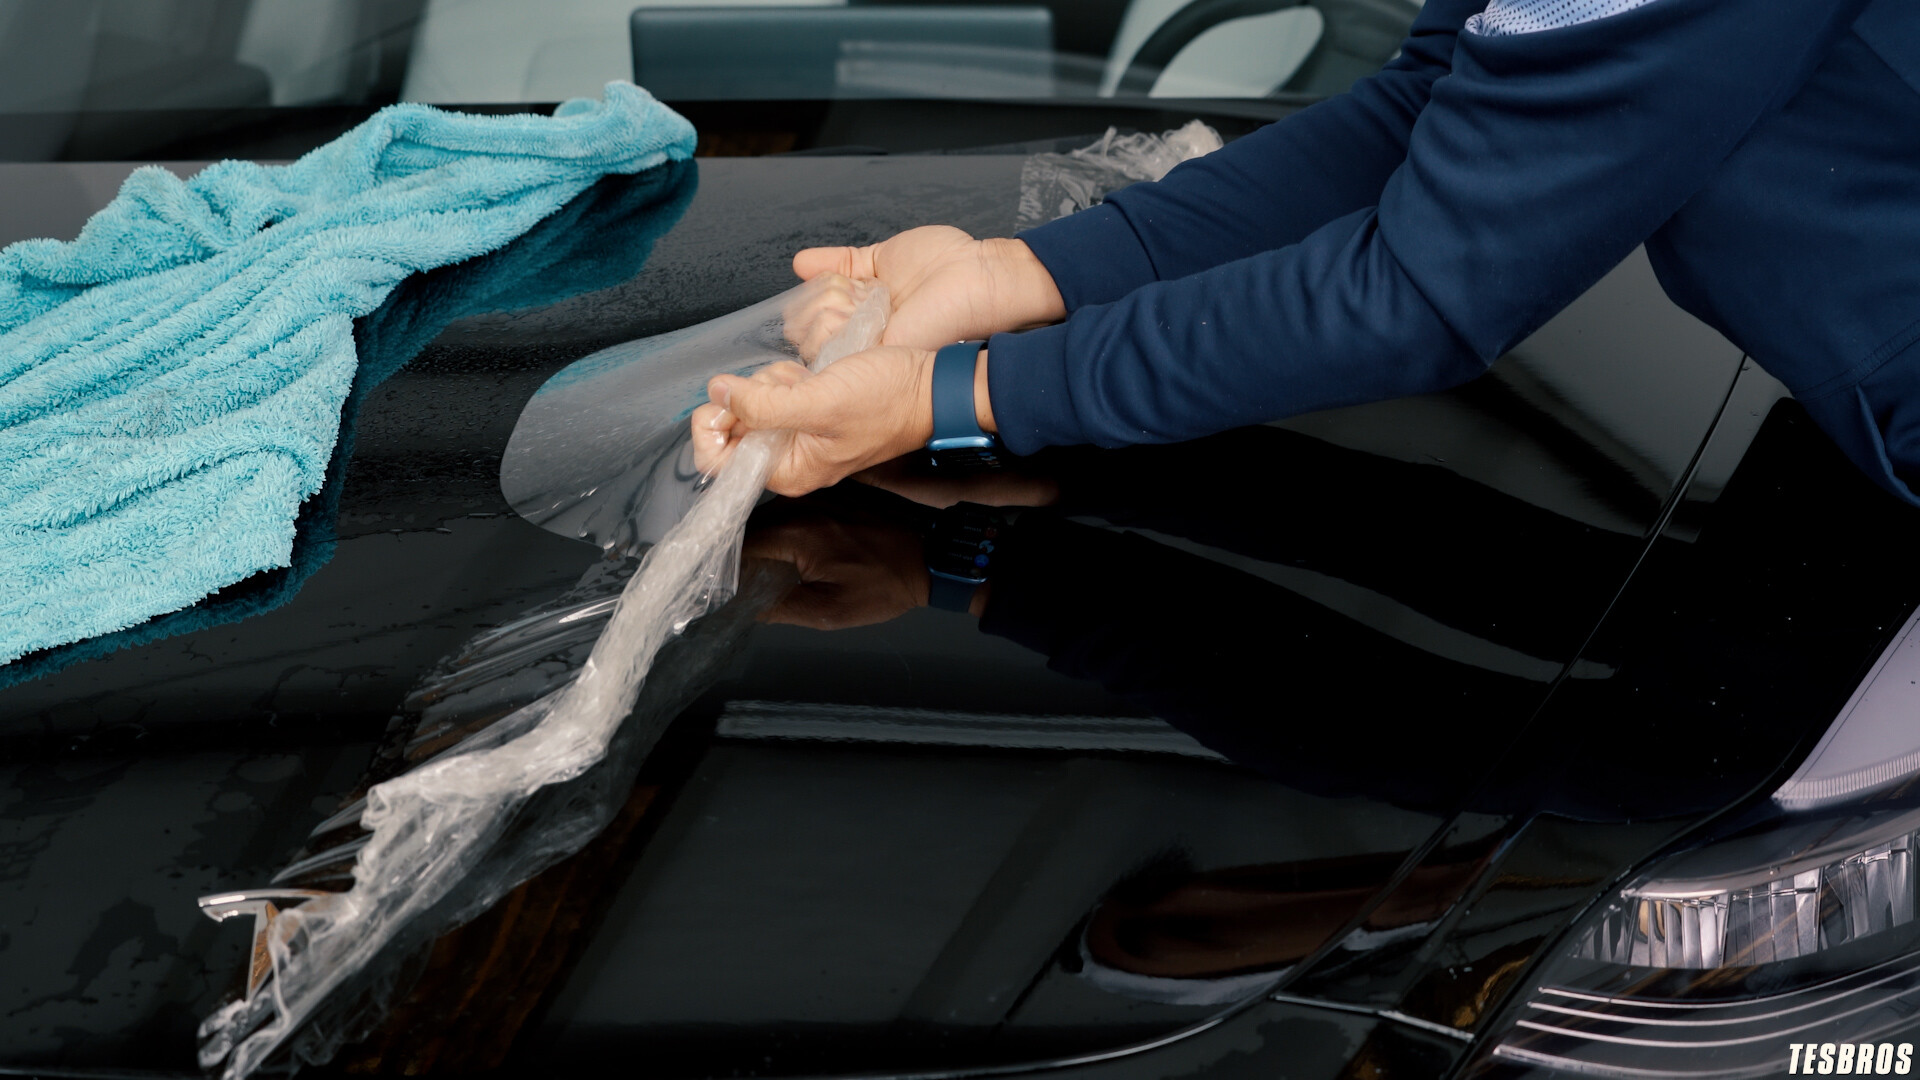
PPF can be easily removed whether you are a professional or a do-it-yourselfer. The video above explains two simple techniques to properly remove your PPF without leaving any frustrating adhesive residue.
Instead of a steamer, use boiling water and a large microfiber drying cloth.
Place the microfiber on the PPF, carefully pour boiling hot water over the towel and let it sit for a few minutes. This process allows the towel to retain all the heat from the water and really saturate the PPF. After a few minutes, move the hot towel to the next section so it can warm it up, and start peeling. Make sure to pull the PPF towards you as the video shows. This is essential to ensure that the adhesive lasts with the PPF. The film should be gummy and stretch easily. If not, your area is too cold or the water is not hot enough. Repeat the same steps of pouring and peeling as you work through the film.
Instead of a heat gun, use a hair dryer.
This process takes a little more time, but it is certainly doable! Take a hair dryer in one hand and peel with the other. Be sure to move the dryer back and forth about 6 inches above the film and DO NOT leave it in one spot. This can cause the film to burn and possibly damage the clear coat. So be careful as you slowly work your way to the other side.
I would say a big bonus of using the microfiber technique is that you can use both hands to peel and pull up the PPF.
Check out our DIY PPF kits below!
Tesla Wraps
How To Avoid These 5 Common PPF Install Mistakes
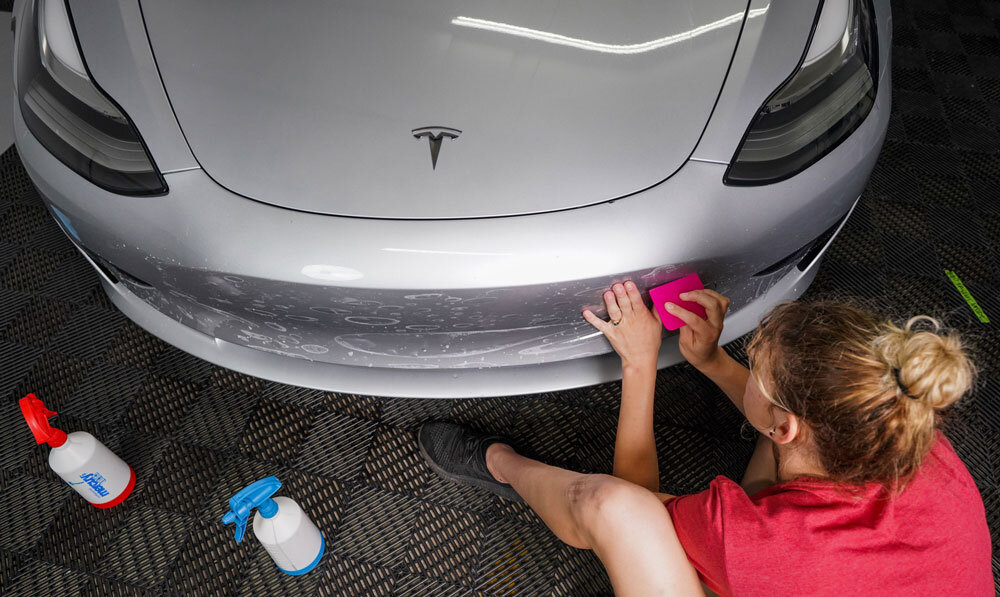
Since we launched the DIY PPF kits for the Model 3 and Model Y, we’ve had a lot of great feedback, but we see the same issues over and over again. These 5 common mistakes people make when installing PPF are things that both professional installers and DIYers have struggled with, including myself when I first started.
1. Slip solution is your friend
You have to be generous with your panty solution. You really want to extinguish every square inch of the panel. The PPF should ‘slide’ easily. If you don’t have enough slip, you will hear the PPF sticking in certain areas when you try to move it.
You also want to spray on top of the PPF, otherwise you may damage the film with your squeegee as it will not glide properly. If you wipe too hard, lines may appear on the film. Spray often and fill your slip bottles before each panel so you don’t run out during installation.
2. Watch for dirt
One of the most common ways we actually introduce dirt is through the squeegee. It falls on the floor, you put it down, you might put it in your pocket – anything can pick up dirt. To combat that, get a small, clean bucket of water and place your PPF squeegee in it when you’re not using it. This way it is always clean. If you drop it on the ground, throw it in the water – ready to use.
If there is any dirt or grime under the film, let’s see how I can get rid of it. If it’s been a day since installation, then it’s probably too late, but if it’s within an hour of installation, it’s best to try to get it out.
Ji does a good demo the video to show how he gets out.
Spray plenty of slip solution to get started – under the foil and on top as you pull the foil up. Make sure your hands are clean. Try not to hold the corners or edges for too long so you don’t stretch it. As you lift it, continue spraying the slip solution until you reach the debris. Make sure you work with gravity and come from below if possible. This way the dirt slides down naturally.
It’s tempting to stick your finger up there and grab it, but don’t! Instead, once you get to that point, squirt it to get it moving. Hopefully it comes down with the liquid. If not, use the edge or tip of your clean squeegee to shake it up. It should come loose from the adhesive and then squirt back in and watch it go down and out of the film.
3. You don’t need heat
Many people have the idea that you have to use a heat gun and they treat PPF like vinyl. Vinyl wraps are a completely different installation.
The only times you want to heat is if you need to do a lot of stretching or if you need to dry the edges so you can wrap around them.
On the other hand, if you need heat for stretching, I like to use hot water in my slip and tack solutions. Or a steamer is nice because it is moisture. You have to be very careful with a heat gun because it is just dry heat that can easily burn or deform the film.
4. Bubbles Bubbles Bubbles
Why do we get bubbles at all? Many people forget to overlap the movements of the squeegee, or they rub too gently. Another way is to return to the tacking point with the squeegee. That can catch bubbles there, because there is no starting point.
There are two types of bubbles: moisture bubbles and air bubbles. Moisture bubbles form when there is slip solution in the bubble. These will disappear in a few weeks if they are smaller than a nickel.
Air bubbles usually form when you don’t have enough slip solution and air gets trapped. These will not disappear because nothing can evaporate. You should remove that with plenty of slip solution and try again if it hasn’t been more than a few hours. Some people also use a thin syringe and suck the air out, but you have to be very careful with that method. Do-it-yourselfers are more likely to damage the paint this way.
Finally, sometimes you get air bubbles if there is dirt underneath, or a paint chip that has risen.
5. How to handle fingers
The last problem we’re going to talk about is fingers, also called wrinkles. The reason why that happens is because too much material builds up in that area. It usually happens along edges. Normally you want to stretch the material over the panels to prevent fingers, but sometimes this is not possible because it has already hardened.
Ji does a demo of how to get rid of wrinkles in the video above.
You will spray that area with slip solution and then with tack solution. Work the eraser downwards until some fingers disappear. Sometimes you have to hold it down a little longer. Another way to do this is to wrap your squeegee in microfiber and hold it on the edge to absorb the moisture.
If you have large fingers, make sure to split them down the middle to make them smaller and easier to work with. Divide and conquer. Don’t go too fast when working on this either, or you may permanently damage the film with wrinkles.
—
That sums up the big problems we see. Just a reminder to make sure you do the installation indoors in a clean, room temperature environment. Half the battle is preparing your car and installing it in a clean environment. It is also good to have bright light, such as a headlamp. It can help you detect problems early.
Our DIY PPF kits are made a little differently. They’re designed with beginners in mind, and if you follow the step-by-step video guides, you’ll be fine.
Tesla Wraps
Tesla Mud Flaps With PPF To Protect Your Paint
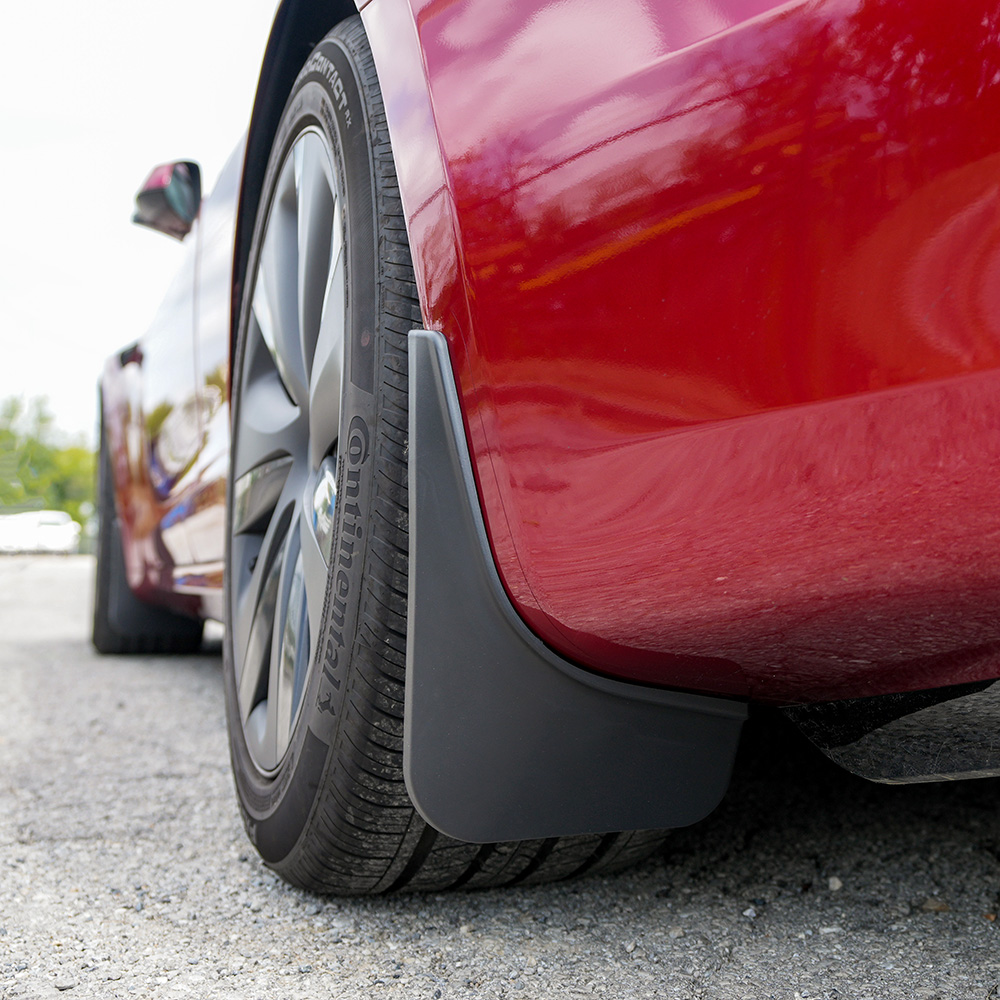
What are mud flaps for?
Protect the paint of your Tesla against stones, mud, dirt and snow. Mud flaps are designed to protect the rockers and lower portion of the car. It’s a simple barrier that keeps dirt, rocks, and debris from flying up and chipping your paint. The wider and bigger your tires are, the more mud and stones are thrown around. As a bonus, some people also like the sporty or outdoorsy look it gives the car.
The problem with mud flaps
Mud flaps are designed to protect. Ironically, they can also damage your paint in the process. They sit right against the paint and collect dirt and grime in the narrow crevices. While driving, the mud flaps rub against the paint, causing dirt to scratch the paint where the mud flaps are. I’ve seen it cause minimal damage, all the way through the paint. The extent of the damage depends on where and how much you drive.
The solution
PPF! Paint protection film is a durable, clear film that can easily be applied under the mud flaps. This sacrificial layer prevents paint damage by keeping the mudflap off the paint. If PPF is already installed on your car, you do not need to install this part as well, but you can do so if you wish.
Do mud flaps affect range?
While they cause some drag, it shouldn’t affect your range more than about 3%. For me personally, I can’t detect any difference in range. There are many more factors such as driving behavior, tire size, weather conditions, etc. that have a greater impact on reach.
TESBROS Mudflaps
Our mud flaps can be installed without drilling using existing holes and come with everything you need to install in less than 5 minutes. We also supply a custom cut PPF kit with slip and tack solution and a squeegee. Made from Avery Supreme PPF, this is the same high quality material found in our DIY front and full body kits and will last approximately 10 years. Watch the video above for a detailed installation guide.
Tesla Wraps
Ultimate Guide For New Tesla Owners In 2024

STAY INFORMED
YouTubers to subscribe to:
Tesbros – We focus on helping you customize, protect and maintain your Tesla so you get the best ownership experience.
TeslaRaj – He focuses on Tesla’s basic functions and maintenance.
i1tesla – He documents how and what he does to customize his Tesla.
Andy Slye – He usually explains Tesla’s latest features/technology and offers good reviews.
Tesla joy – She talks about her experiences with ownership and what she learned from it.
Wham Baam Teslacam – Wham Baam shares teslacam content submitted mostly by Tesla owners and shows some crazy crashes and wild encounters on the road.
Frugal Tesla guy – He mainly discusses Tesla accessory reviews.
Mother Frunker – Software and technical updates are his specialty.
TesLatino – He focuses on his experiences as a Tesla owner.
Kim Java – She not only focuses on her Tesla experiences and reviews, but also branches out into some other EVs and solar energy.
Ryan Shaw – Tesla technology, new features and reviews.
Who to follow on Twitter:
Join your local Tesla group on Facebook. Often there are Tesla groups for your state and your city. I suggest joining both of them, because there are often meetups or local tips/news about Tesla.
I also recommend that you sign up Test lettera free weekly newsletter in which you will find the latest news and software updates surrounding Tesla and Elon.
Acronyms:
EV – a complete one Eelectric Vehicle, not a hybrid
FSD – Completely self-driving. You hear the term FSD beta a lot, because FSD is new to the game and constantly being improved.
AP – Autopilot. Double tap the stem to activate. Your car stays in the lane and accelerates and decelerates as necessary.
EAP – Improved autopilot. This bad boy will do everything AP can do including changing lanes and taking exits.
ICE – This applies to petrol or diesel cars with a Iinternal ccombustion Eengine.
Frozen– ‘ICEd’ means that an ICE vehicle occupies an EV charging spot. “I received ICU treatment at the mall today.”
Rain – You will see that regenerative braking is much shortened to ‘rain’. Tesla’s rain braking essentially lets you drive with one pedal, as the car slows down as soon as you release the accelerator. This feature also saves energy and range. Watch the range video above for more information.
OTA – Over-The-Air, referring to Tesla’s software updates that come over the air via Wi-Fi or mobile data
SA – Tesla’s service advisors
TSLA – the Tesla stock symbol
TSLAQ – Tesla Q refers to those who criticize Tesla and may be shorting Tesla stock.
Learn more about Tesla abbreviations here.
Tesla Wraps
5 Ways to Protect your Cybertruck
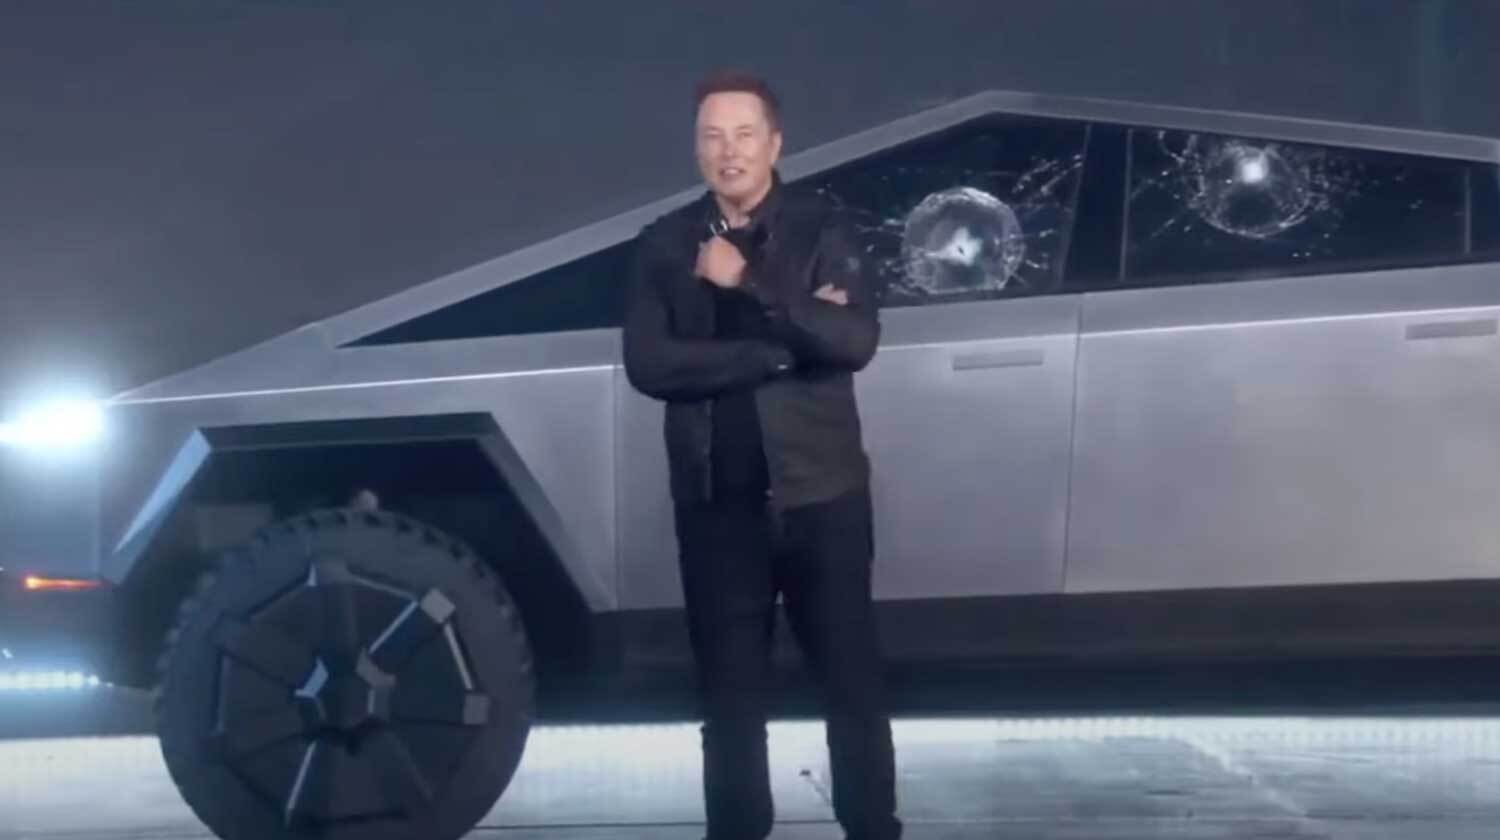
Even with a stainless steel, bulletproof truck, you still want to keep it in top shape. Whether you’re on the road or the trails, carrying 10,000 pounds or just riding your bike, there are several things you can do to ensure your bike stays scratch-free. Here are 5 things we recommend.
1. Paint protection film (PPF) for exterior surfaces
Yes, the Cybertruck is virtually indestructible, but if you really want to keep it in pristine condition and get rid of those pesky fingerprints, you can apply paint protection film to the stainless steel. It keeps the Cybertruck ultra-shiny and makes it even easier to keep clean with the film on. The best part is that applying PPF would be much easier as you are dealing with flatter panels. PPF has properties such as self-healing properties that keep the car in its stainless steel glory. DIY PPF kits will be available soon, but for now we also have vinyl wrap kits for the DIY enthusiasts interested in customizing their ride.
2. Tinted windows
The Cybertruck’s interior uses a fair amount of synthetic leather that can deteriorate over time, especially when the sun shines on it. By tinting your Cybertruck windows, the tint provides protection against UV and infrared rays. We recommend using a ceramic tint that has the best value and best properties in terms of protection. Most reputable brands that offer ceramic tint, such as 3M, also have a lifetime warranty.
3. Screen protector
Like other Tesla models, the Cybertruck has a fairly large screen in the center of the vehicle on which all functions can be controlled. Because it is so essential to the vehicle’s functionality, we generally recommend installing a screen protector in case something happens. It also eliminates scuffs and scratches from daily use. On one of our first Model 3s, our friend hit the screen with his backpack, which broke the screen a bit. We ended up living with the chip, but then we launched our screen protector for Model 3/Y shortly after.
4. Floor mats
Since the Cybertruck is an outdoor/adventure vehicle, we assume many will take it into muddy areas and track down quite a bit of dirt. Having a robust floor mat ensures that the interior remains nice and clean. Once dirty, you can remove the mats and hose them down. It is the fastest accessory you can buy to properly maintain your Cybertruck. If you’ve ever tried to vacuum the floorboard of a vehicle and didn’t have a floor mat, you know how difficult and time-consuming it can be. Purchase floor mats to save time and stay clean.
5. Ceramic coating with leather shield
The Cybertruck seats are made of synthetic leather, similar materials to the Model 3 or Y. White seats can be especially prone to stains. You can use GYEON Leather Shield to coat the Cybertruck’s vegan leather interior parts to give it a layer of protection that makes cleaning easier and reduces stains from daily use. It needs to be applied every 6-12 months, but the amount of time you save from not having to clean your interior as often makes it worth it. Read more about Leather Shield here.
Tesla Wraps
How To Maintain Your Tesla Vinyl Wrap – Pro Cleaning Tips
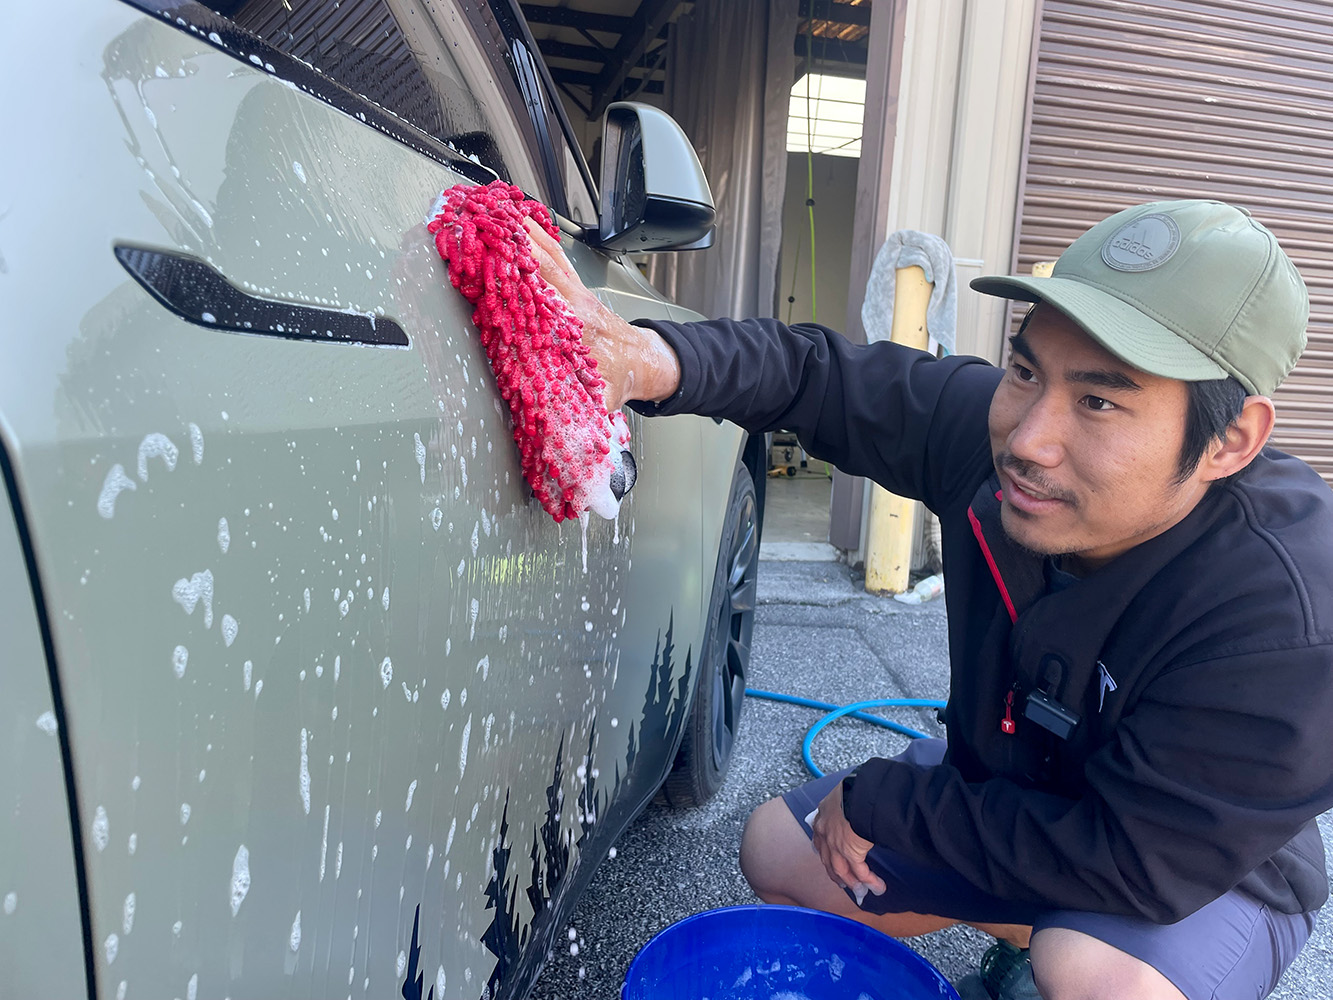
Properly cleaning your vinyl wrap is important when it comes to how long your vinyl wrap will last. Wraps usually last 5-7 years, especially from big brands like 3m and Avery Dennison. However, they can only last 1-3 years if you don’t take care of them. Let’s talk proper washing technique, how to avoid water stains and permanent etching, and ultimately how to ensure your sling lasts as long as those 7 precious years.
In the video above we use a Model Y wrapped in Avery Satin Khaki Green for demonstration purposes. It’s been in the package for a few months and still looks great. I want to start by emphasizing that vinyl does not protect like PPF does. They are made differently and have different purposes. The purpose of vinyl is to change the color.
Does it provide any protection? Certainly. It is still a barrier between the elements, but does not protect against stone chips or deep scratches. It is about 1/3 the thickness of PPF. Vinyl has some self-healing properties, but is limited to very minor scratches and swirls; they heal during a certain period with heat from the sun. You can also pour warm water over the area to speed up the process.
How to wash vinyl packaging
Let’s start with proper washing technique. Use pH neutral products on your vinyl wrap, such as our car wash shampoo. The two-bucket method is the most recommended and popular way to wash your car. It’s best to wash your car every 2-3 weeks, depending on how often you drive and what type of road conditions you encounter. This method obviously includes 2 buckets, one for washing and one for rinsing. Using these two buckets instead of one will prevent dirt from getting on your car. To take it even further, having a grit guard in your rinse bucket can help keep the dirt at the bottom of the bucket. Dip your glove into the wax, gently slide it over the surface of your car, then dip it into the rinse bucket before repeating. I like to turn my glove halfway through the panel and rinse it after each panel. Wash from top to bottom in this order, going from least dirty to most dirty:
- Roof and rear window
- Side glass, pillar and mirror
- Windscreen
- Hood and mudguard
- Rear side panel and trunk
- Doors
- Rear bumper
- Front bumper
- Rockers
Disclaimer: I recommend NOT washing or leaving your car in the rain for the first 7 days after installation. These things can contribute to edge failure.
If you do use a foam cannon and/or high-pressure cleaner, make sure you keep it at a distance of 30 to 40 centimeters while spraying. Do not spray inside neither do the edges. This can cause the edges to peel off prematurely.
Avoid water stains
Dry your car is crucial to avoid those pesky water stains. Most people don’t have deionized water, but if you do have access to it, it’s really nice to have. That just means that your water contains little to no minerals. Minerals in the water are the cause of the water stains. So if you have “clean” water, you technically don’t need to dry it. Either way, it’s good practice. These are the two ways I recommend drying your car:
- Large plush microfiber drying towel. Simply run the device gently over your car as demonstrated in the video, rather than scrubbing roughly.
- Leaf blower. I like to use EGO. This is an easy and satisfying way to blow the water out of your car. It’s especially easy if ceramic coated.
Waterless wash
If you wash regularly while on the road and in between, you may get insects, bird droppings or tree sap on your sling. It happens! It’s best to take those things off right away, rather than waiting for a regular wash every few weeks. I keep a waterless wash (aka quick detailer) in my car with a microfiber so I can easily grab those things when I’m on the road before they stain or etch. If they stay there too long and end up in the movie, unfortunately there’s no way to get that out. Waterless is also an easy way to clean door and trunk sills!
Ultimate protection = PPF or ceramic coating
Like I said before, vinyl wraps don’t protect like PPF yes. To the ultimate protection, you can apply PPF over the vinyl. PPF is meant to protect your paint, but it can do the same to your vinyl. It is scratch resistant, self-healing and has hydrophobic properties, so you can easily keep your vinyl wrap underneath in good condition. I recommend only covering the front (bumper, hood, mirrors, fenders, headlights) as those are the areas of greatest impact, but you can of course do the entire car.
You can also apply a ceramic coating over your PPF or vinyl. This would give it hydrophobic properties, making it easier to clean and less likely to attract stains. It would also really bring out the shine of your shawl. Keep in mind that ceramic coating always lasts; Nothing adheres to the ceramic coating, so it cannot be used under vinyl or PPF.
Both are ways to do everything you can to ensure your vinyl is in top shape.
Bonus tips
- You can remove it without damaging the paint.
- Many wrap stores have a warranty. I recommend you ask about this when you make inquiries. For us, we offer a 1 year warranty against any defects or defects due to installation, and we will replace damaged panels at cost if you have an accident.
- You can pack yourself! At TESBROS we have vinyl wraps for outdoor and indoor use that are pre-cut and come with everything you need for wrapping. Currently we are only offering touches like pillar removal or center console wraps, but in the near future we will be offering full body wraps for the Cybertruck and hopefully other models! Stay up to date with our social channels for more.
-
 Tesla Wraps1 month ago
Cybertruck Wrap Guide: Vinyl Vs. Paint Protection Film
-
 Commercial Wraps1 month ago
The Evolution of Vehicle Wrap Trends: Past, Present, and Future
-
 Custom Wraps1 month ago
Stand Out From Your Competition Using Unique Commercial Car Wrap Designs
-

 DYI4 weeks ago
Car Wrap Removal Made Easy: DIY Surface Energy Reducer Spray
-
 Vinyl Wrap3 weeks ago
Which Wrap Finish is Right for You?
-
 Custom Wraps4 weeks ago
Unleash Your Brand’s Potential Installing a Commercial Car Wrap
-
 Commercial Wraps4 weeks ago
Wrapping Your Fleet: A Comprehensive Guide for Businesses
-
 Custom Wraps1 month ago
Choosing the Perfect Car Wrap for Your Corporate Personality: Showcasing Your Brand’s Vision and Professionalism

