DYI
Smart way to handle bottom window molding
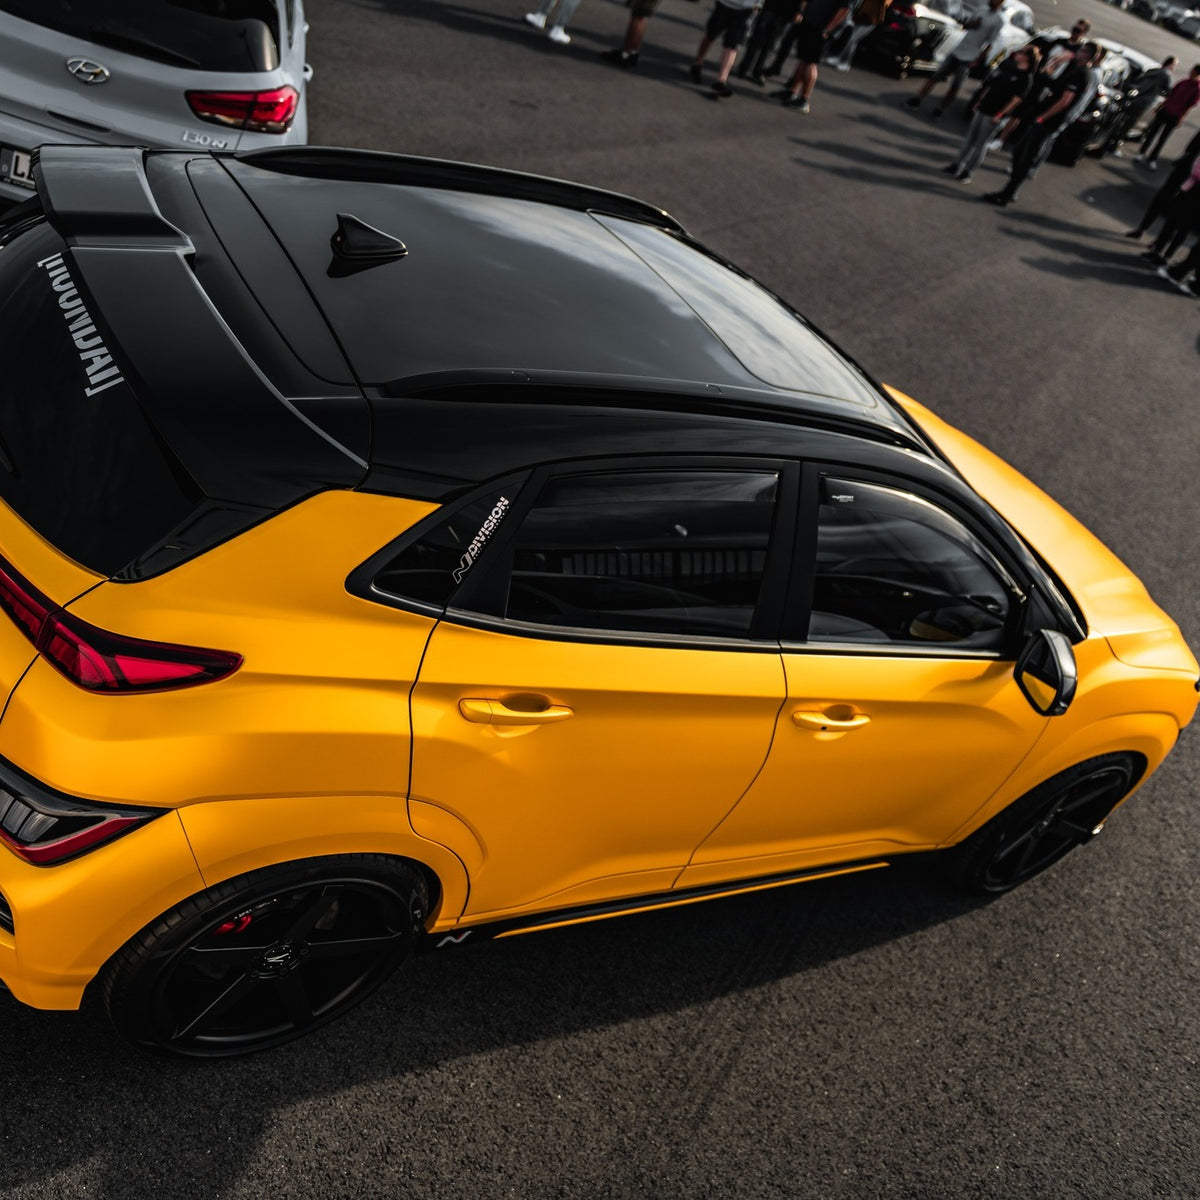
Vinyl packaging won’t always go smoothly. Depending on the vehicle, there may be different challenges. For example, you may come across a sleek rubber frame with a chrome cover on the outside that sits at the bottom of a window.
This situation can be difficult for many installers. If you want full coverage and cut on the chrome side, the vinyl wrap will form a bridge over the underlying rubber, which cannot stay there properly due to the low surface energy.
However, if you cut on the door side and try to avoid this, the cut may be jagged because you cannot press hard with your blade due to the tight rubber. You could also accidentally cut the body, or the rubber could come loose from the door. the body.
Don’t worry. Here we have two clever color change and full print packaging techniques that can save you from this frustration. Whichever method you use, remember to clean the area thoroughly before applying.
If you are wrapping a color change project, you can apply a Design Line or Finish Line bladeless tape to the edge of the rubber (which is between the bottom of the chrome and the top edge of the door), creating the green line on the right butt joint of the rubber.
Leave a hole
Once the Knifeless tape is applied, apply the full print wrap as usual. Don’t forget to tuck the material under the molding with your squeegee. The tape will create a gap there when released.
Take the opportunity to take the finish to the next level
Although it does not conform to the list, it guarantees the quality of the edge. And it also creates space to further customize the finish.
Instead of just changing the color of the car, you can take measurements with a double cutter, take a pre-cut vinyl stripe and install it into the opening. For example, you can take a piece of carbon fiber, which will add a unique flavor to the overall look of the finish.
For a full vinyl film installation, the process is the same. But instead of adding fancy stuff to the gap, you can just use a black matte stripe to fill it, which almost looks like rubber. Since the main part is encased in a full print wrap, the stripe will fit in perfectly without any disruption.
Some may argue that if the molding is removed before packing, all problems will go away. But chances are it will bend, which is costly. So this can be the simplest and smartest way to get away. Equip yourself with useful wrapping tips at teckwrap.com
DYI
Getting the right tools is your first step to a successful wrap installation
To get the right tools is crucial for smooth installation and a perfect finish. But there are so many different types for just one tool!
We could say that you need 35 tools that will ensure a smoother and safer process when wrapping your car. But this time we introduce you to only part of it. If you have no idea about some of these, or you’re not sure how to choose the right one, then this article is for you!
Suction nozzle
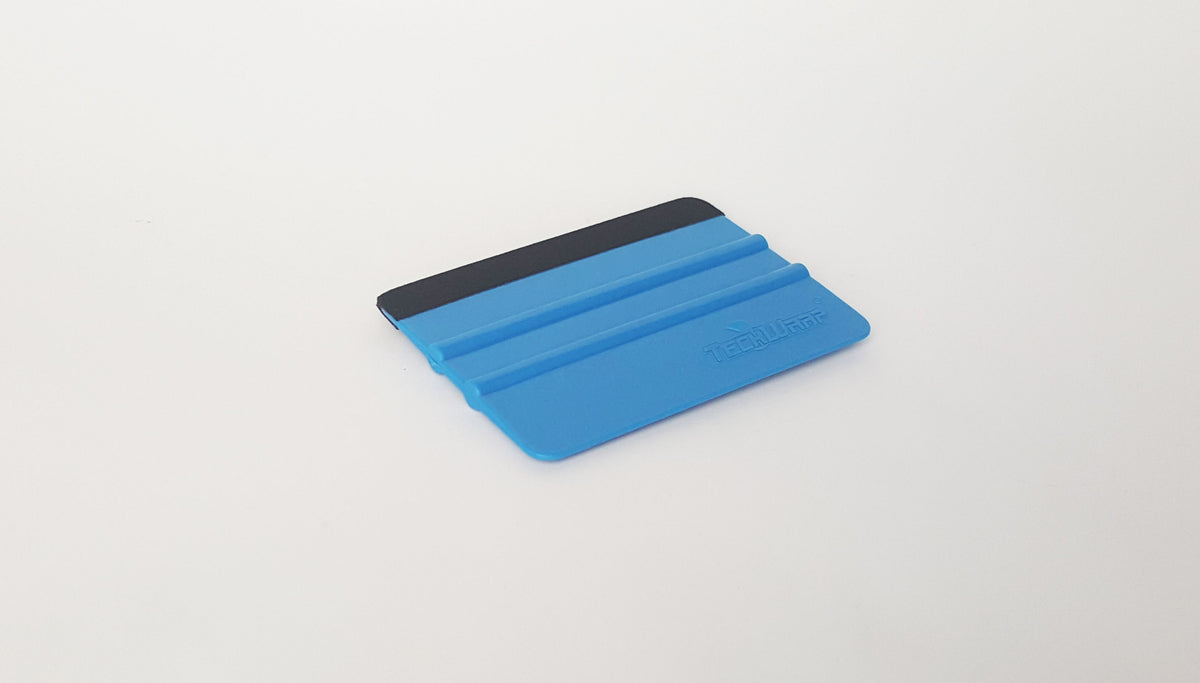
Today there are many different types and sizes of squeegees to choose from on the market. Although the choice should be based on the properties of the film you use, and sometimes also on the vehicle type, it is generally good to choose a wiper that is made of good plastic and has a medium tension, as the most foils are pressure activated.
However, there are also situations where it is good to use a soft squeegee as it allows the foil to form easily and safely. For example when it comes to bumper mounting. Or when you use a carbon or brushed metal film: these are very sensitive to scratches because there is no laminating layer. So when it comes to installation, a normal wiper can easily cause scratches that even a heat gun can’t fix.
Squeegee buffer
There are many buffers that are very thick and even have uneven surfaces, but what you need is thin and very soft. In fact, the thinner the better. If you use a buffer with a wide and uneven surface, it will tend to push the film. The best way is to buy some pre-cut buffers.
They fit perfectly on a standard wiper. This can save you a lot of time when trimming. And they are also replaceable. This is important because using a worn buffer will scratch your film. So what you also do is check your buffer and see if there is anything scratchy on it before you use it.
Knife
It is always good to use a standard light-duty utility knife that has 9mm snap-off blades and a plastic front. If you use one with a metal front, scratches are likely to occur when you cut the film, and you’ll need to pay extra attention to the angle of your hand when you do so. But with the plastic front you can even press the knife against the surface while cutting. So it is safer and easier.
Knives
Instead of using the standard 45-degree angle blade, a sharp 30-degree snap-off blade is the best choice for cutting. Because these types of blades are sharp enough, they are perfect for the tricky trimming work when it comes to corners and other difficult places.
Safe
Speaking of knives and blades, a safe is also something you need. It is absolutely unsafe to just throw your disposable knives anywhere, both for you and for others. A safe is intended for the safe handling of used knives that can be up to 62 mm long. There are many well-designed safes on the market today. You just need to insert the used part into the appropriate slot and break it off. The knife remains in the box.
Tucking tool
The so-called insertion aid is only a micro squeegee. When it comes to certain parts of the vehicle, this allows you to quickly and risk-free put your film behind a soft frame.
Heat gun
We probably don’t need much explanation here. A heat gun can help safely adapt the film to your vehicle. The only thing to consider when choosing a heat gun is: is it fast enough to reach the desired temperature? Does it have a strong fan and is it durable enough?
These are some of the essential tools you will need for any installation. Next time we will introduce some other tools that may be optional or used in a particular situation.
DYI
Post-heating vinyl film on recessed areas
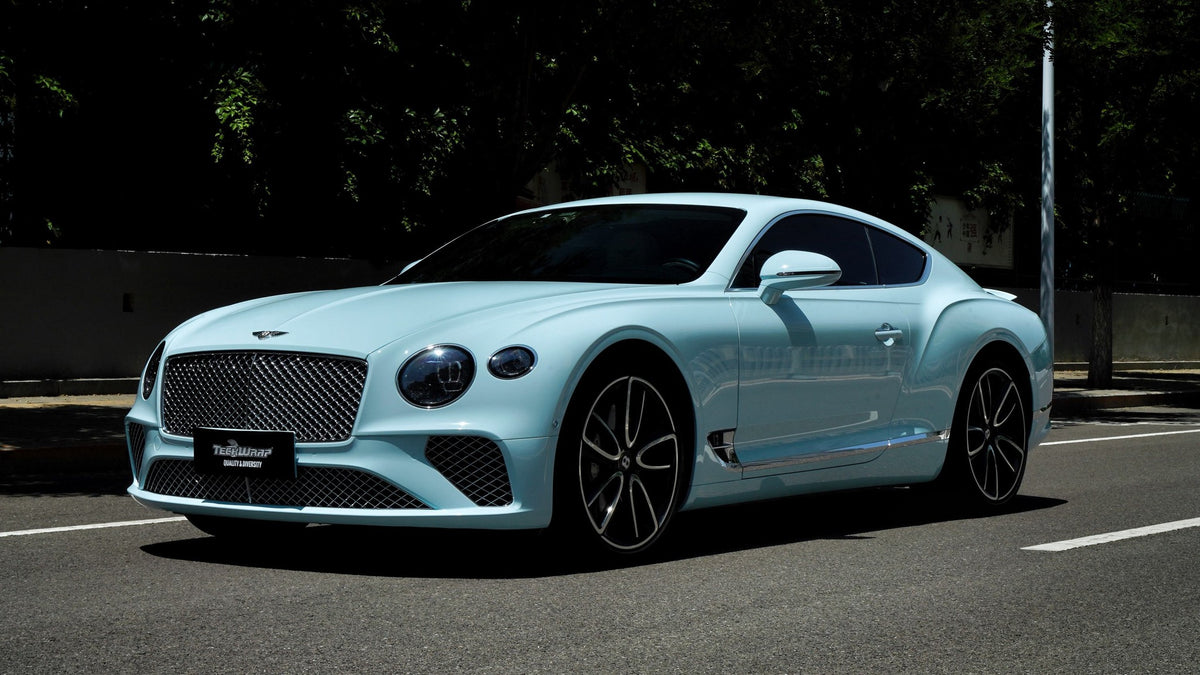
Reheating is essential for most vinyl film installations, especially in recessed areas. It improves the performance of the cloth and guarantees its durability. But this only works if your reheating is effective, because you are never heating for heating, but for the overall quality of the finish.
To ensure proper reheating, you need to prepare everything from the preparation stage for applying vinyl film. Here is a step-by-step guide to help you take photos for a perfect result after heating:
Prepare the surface not only for the wrap, but also for heat
When wrapping a built-in area with car foil, you may consider only preparing the material itself for reheating. Therefore, in addition to cleaning the surface, you should use a scratch-free sponge to cover the entire area.
No surface is 100% smooth
Every surface has peaks and valleys when you put it under a microscope. So the material appears to float on the surface just after you apply it. Post-heating ensures that the glue flows into the cavities and sticks better.
However, you should never reheat immediately after the car wrap has been placed on the surface, because there is air in those valleys. There is a risk of it cracking and damaging the vinyl film.
If you go over the surface with a scratch-free sponge during the preparation phase, some micro-residues in those cracks can create additional surface energy and take the film’s durability to the next level.
(However, this does not mean that you can immediately reheat the vehicle wrap. TeckWrap recommends that you always wait at least half an hour to reduce the chance of the material popping and cracking. Also, don’t forget to complete the cleaning process when you finished with the sponge.)
Speed up the process
Normally it takes about 24 hours for the adhesive to fully settle on the surface. If you want to speed up the process after installation, you can take a roller with a handle and rubber and simply run it over the area to manually flow the adhesive. (You can use light heat to aid this process. However, keep in mind that this is not reheating yet.)
Some more tips…
When molding the vinyl sheet into a recessed area, keep in mind that it is better to heat the material area about six inches from the recessed area. Doing this will preserve the adhesive for the area and ensure durability.
If you follow these tips, you should be able to achieve perfect results after reheating. Equip yourself with more wrapping tips at teckwrap.com
DYI
Adapt your relief cuts to different vinyl film materials

Making relief cuts is essential for any car wrapping project. When you encounter recessed areas, raised objects or awkward corners that can build up tension on the vinyl film, you will need relief cuts to relax the material.
(Although heat is an excellent method of achieving the same goal, there is a risk of over-stretching the material in this way.)
Standard relief cut
Typically, you make a relief cut about 1/2 inch away from the edge of a raised object, with the cut being in the center of the object area. Doing this will evenly distribute the tension on the vinyl film. And you can then work around the corner. But this standard relief cut only works well on a standard car wrap-style gloss film.
Textured and multi-layer films require different approaches
If you make a standard relief cut on a textured or multi-layer film, the car wrap will not relax. Worse, it will split. A textured vinyl film is fragile; even the wrong temperature can cause it to crack. A chrome wrap is also sensitive. So they both need a different type of relief cut.
Bend your knife instead of cutting straight
One of the ways to safely make relief cuts in a textured or chrome car wrap is to make a closed cut. Instead of cutting straight, bend your knife so that you make a cut in the shape of the letter “J”.
You can do this by curving your knife around the edge of the lifted object. Make it a closed curve and the line should point towards the object. In most cases, a textured or chrome-plated film will not tear with this type of cut. If it does split, it splits into the lifted object. This way you can still work safely with the material.
Make a hole
The second way is to make a hole with a bleed tool. This type of tool comes in different sizes. It is usually intended to pop bubbles. To loosen the material for wrapping elevated objects, you can take a thick one, pick up the vinyl film and first make a hole with it.
Then start cutting from the side of the hole opposite the raised object. This is very similar to the first method above. After cutting in this way, the car wrap will not split even if you pull hard.
Keep this in mind for a stress-free cutting experience. Feel free to read more about packing and simplify your packing process at teckwrap.com
DYI
Wrap damaged vehicle in vinyl film

Wrapping your car with vinyl wrap is more cost-effective than painting it. Some people choose to give their car a second skin with a wrap. However, there are risks associated with wrapping a damaged car.
In typical cases, you should properly prepare the car surface before applying vinyl wrap, including a thorough cleaning. If rust is present, you must remove it, otherwise it will grow under the material, affecting the adhesive and the performance of the film.
But if it’s a damaged vehicle, you can’t completely repair all the rust. You must clearly explain to the car owner what will happen if vinyl wrap gets on this surface:
- The film’s performance will degenerate.
- When the car wrap is removed, some paint chips around the rusty area can still be removed.
If the car owner agrees, you can proceed. Or you should recommend him to have the vehicle repaired first. Your job is to do your best to keep the vinyl wrap on the surface as long as possible. But due to the special condition, a notch in the final finish may appear around the rusty area, which you should also inform the car owner in advance.
It is difficult to get a vinyl wrap to sit properly on a damaged area because there may be an open area, paint chips and rust. However, you should still clean the surface as usual. You may have a better idea about this section after you clean it.
Then use a paper towel to remove as much rust as possible. If there are paint chips or an open area, sand them down and minimize any edges. A scratch-free sponge or pad can be a good tool for this. Just make sure you don’t damage the rest of the body.
When these preparations are done, it is time to use the help of an adhesive promoter. This allows the vinyl foil to remain in place in the weak spot for longer. Draw a line over the damaged area with the promoter. You can use an applicator to make the process smooth. When applying, make sure you apply an even layer of glue.
Once the promoter is turned on, wait for it to dry (usually about 5 to 45 minutes depending on the different products). Do not place the vinyl film immediately on the wet promoter as this may damage the adhesive of the material.
Once the promoter is dry, you can apply the vehicle wrap to the area. However, if you do this, you should do it without picking it up at all, as paint chips may come off when you pick it up. Don’t forget to seal all the edges well when it’s done.
Although the self-adhesive promoter can help the car wrap stay in place better in the weak spot, there is no guarantee. Still, it is much better than zero surface treatment.
Continue learning more about car wrapping at teckwrap.com
DYI
Fix safely: Don’t push the bubble on vinyl film right away
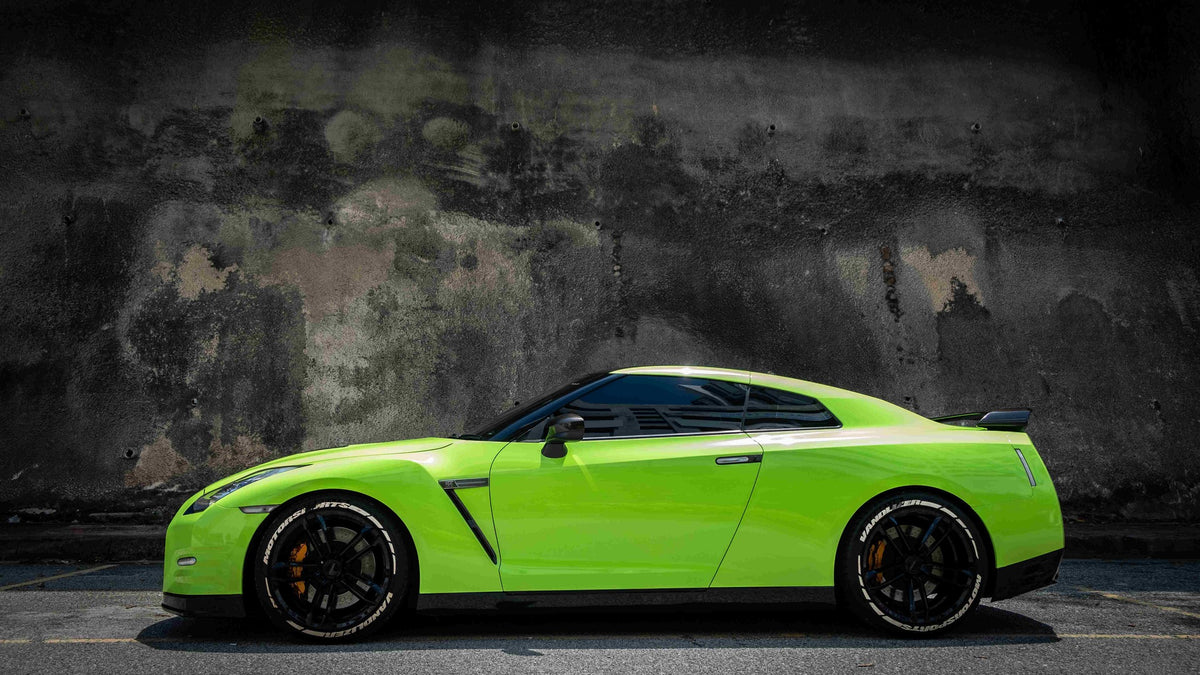
An air bubble is like an old friend to vinyl film packaging. It can occur in almost any installation. It’s easy to get rid of it. But the way you solve this can affect the quality of the overall finish in the long run.
It is always the details that determine how a vinyl film performs. Repairing a bell incorrectly can cause tension in the area or turn the bell into something persistent.
Wrappers tend to ignore the consequences when a bubble forms, casually repairing it by pushing it into a corner with their hand or a squeegee and then popping it with the tip of a knife (or something sharp) . But doing this can cause the vinyl wrap to stretch and build up tension. Sometimes you get a sharp wrinkle that is difficult to handle.
There is a two-step solution that can save you from future problems, which can quickly and safely flatten the car’s wrap surface: When a bubble forms, you can use the soft part of your wiper to push it vertically into the cut in half. Doing this will divide the bubble into two parts. You can then add a horizontal cut to make it four parts.
The bell is now divided into four small pieces, which is much easier to handle. You can use your thumb to gently and gradually push them from the center to the outside. Fix them one by one. The air-egress technology allows you to remove them without putting pressure on the car wrap.
This is essentially the same idea as most wraps, but with a slight difference. Both methods aim to remove air bubbles by pushing the air out. However, by first dividing an air bubble into small parts, you prevent the vinyl film from coming under pressure during pushing, which is much safer.
However, this is a normal case. If you encounter bubbles in strange shapes, they may require a specific technique to repair them. You can continue your learning process at teckwrap.com. Sign up and stay informed for useful wrapping tips.
DYI
No pressure: Wrap with aggressive vinyl film
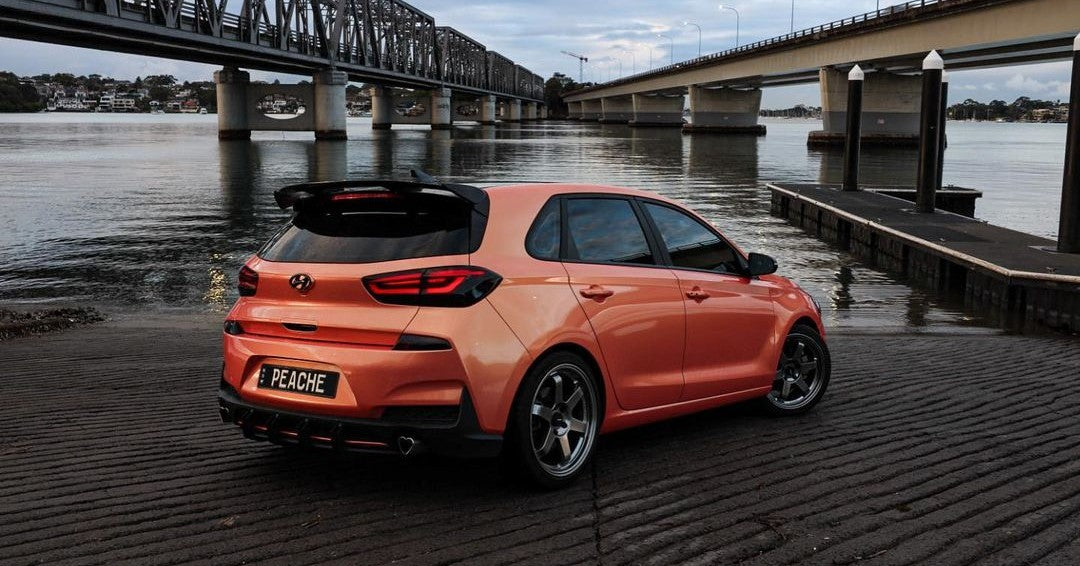
Vinyl film installers must deal with many types of materials, including the aggressive type. An aggressive vehicle wrap is usually thicker, stiffer and more difficult to handle.
Some relatively thinner varieties are more flexible, but they are also not easy to handle. Even worse, a thin, aggressive car wrap can tear easily, especially if you pick it up from the application surface.
Whether thick or thin, an aggressive vinyl film is challenging to pack, especially in recessed or curvy areas with high surface energy. If you pick up the vehicle wrap while applying it, it may break.
So the key to simplifying your wrapping process is to adjust the surface energy before application. If you can lower it, at least the vinyl film won’t tear when you pick it up, and you can install it more smoothly.
To reduce the surface energy in the area of application, you can use talcum powder. After you have thoroughly cleaned the surface, you can place some of it on a paper towel and wipe over the area.
When applying the powder to the surface, do it evenly by applying a uniform and thin layer to the area to make it smooth. If you do it right, you won’t see any powder after wiping. But the surface energy has completely changed.
Since the surface energy is lower, you can apply the vinyl wrap as usual. When a wrinkle or bubble is visible, don’t be afraid to pick up the material as it will not tear again. You can get started safely and without stress.
You can use this trick to reduce surface energy when you need it. For example, you may need to stick the vehicle wrap to a surface such as a window. Since glass has a high surface energy, the film will definitely tear if you pick it up. In such a situation, you can also prepare the surface with talcum powder.
There are many ways you can adjust the surface energy, whether you want to increase or decrease it, depending on your need. Subscribe to teckwrap.com for more information.
DYI
Quick solution: Rough vinyl film edge
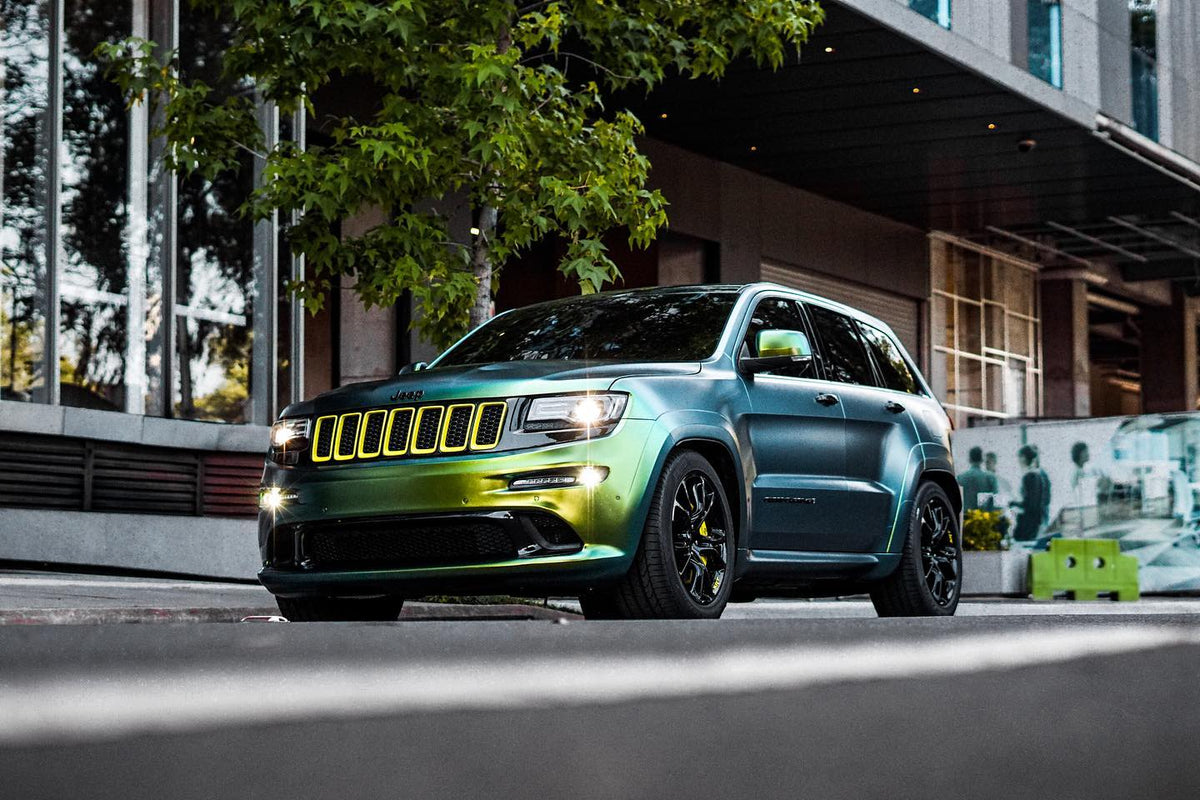
Vehicles vary and can pose different challenges for vinyl film installers. For example, a Jeep window can cause problems with some wraps due to its shape. It has metal in it, so it’s very risky to take it off, which is frustrating if you’re packing a light-colored car for a color change.
In this case, installers have to cut the vinyl wrap with the molding around it, which is extremely difficult and is likely to result in bad cuts. This usually means an expensive repackaging. But here’s a way to fix the problem without removing the car wrap:
Whether you fix the bad cuts or ask to fix the problem caused by other installers, you need to clean up the part before tackling it.
Loosen the top part of the window frame first to allow enough room to work. Do it carefully to avoid bending the metal inside. You can use a plastic removal tool to pry it loose.
Once you have enough space between the loosened molding and the window, you can use a paper towel with alcohol to clean the edge. Then also clean the inside. Treat only the part you need to repair. For the good places where the car wrapping has been properly applied, you can leave it.
Doing this will help the vinyl film stay firmly on the surface. This is important to the solution because once the area is clean and dry, apply a black matte edge sealing tape to it, which will fit perfectly into the moldings. However, if the material does not adhere well in the first place, this solution will not work.
A black matte edge sealing tape like Mold N’ Hold will look exactly like the molding. You can apply it to the area with bad cuts by running it back and forth (starting from the corner). Again, only deal with the problem part.
When you do this, make sure the tape matches the body line and do it symmetrically. You will perfectly hide the ugly cuts underneath. Don’t forget to tuck the tape properly under the frame after application.
Then use your squeegee to seal the tape. Again, starting from the corner. You will need to run the edge sealing tape to the bottom of the molding. Once the corner is done, your work will become much smoother. Run your squeegee over the side to seal everything properly.
If there is any excess material, cut it off and reseal it. And don’t forget to put the moldings properly in place. This method is also suitable for a wrapped mirror with a rough edge (which can be caused by poor cuts or incorrect application technique), simple and cost-effective.
But achieving a perfect finish is always better than trying to find ways to fix mistakes. Keep learning at teckwrap.com to avoid these kinds of frustrations.
DYI
Wired handle: Wrap as if it doesn’t exist
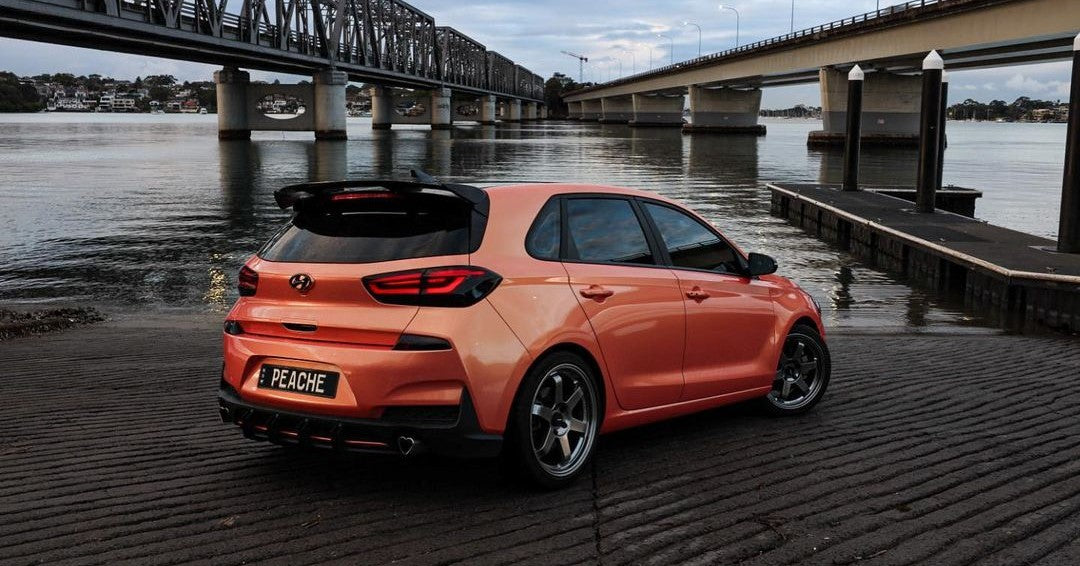
It is not difficult to cover a car door with vinyl wrap. Even if you don’t feel confident enough to wrap it with the handle attached, you can usually remove it and wrap the two parts separately. But if it’s a handle connected to the door, it’s a different story.
This type of door handle can be loosened, but only partially removable. One side of it can go off, but the other side is stuck in the vehicle, making the situation persistent. Some installers may choose to replace the handle and use a vinyl film insert to wrap the inside later.
Making inlays undoubtedly costs you more energy and time. But here is a more efficient way, where you can pack up as if there is no door handle and concentrate on the main part.
First you need to prepare the vinyl foil panel for the door and loosen the handle. Then place masking tape around the handle to lower the surface energy. You will learn why later.
Then place the vehicle foil panel on the door with the backing paper on top. You can hold it in place with magnets. Once the panel is secured, use a marker to draw the shape of the threaded hole, the fixed part of the handle.
When drawing, make it slightly smaller than the actual size. But don’t make it too small because you’ll be cutting this hole in the car wrap and letting the handle through later. Once you’ve traced it, cut it out.
You can then remove half of the backing paper from the vinyl wrap (the part where the hole is). Tack and bridge it over an open window on the door. Then add light heat around the hole to warm the material. Once the vehicle wrap has reached the correct temperature, use your two hands to make a 360 degree spread from the hole and pre-stretch the wrap.
Now that the hole is pre-stretched, you can peel off the car wrap and put it back on the door. During the process, insert the door handle through the hole. This is where the masking tape plays an important role. The handle grips the foil without the foil due to the high surface energy.
Because you have to do this carefully to avoid over-stretching, you will have to adjust the foil several times. So it takes patience to gradually move the vinyl film until the hole is in exactly the right place.
The energy you spend will be repaid once the car wrapping has been applied correctly. You can now concentrate on wrapping the door as if there were no handle. Then wrap the handle individually as if it had been removed and quickly put it back in place.
Keep learning to achieve a seamlessly perfect wrap finish with no pressure at teckwrap.com
DYI
Tricky bubble: Poke and press

Average bubbles on vinyl wrap are easy to remove. But without the right approach, even a little bit of it can affect the material’s performance. That said, when it comes to pesky bubbles, the way you remove them is critical. Doing it incorrectly can lead to an irreversible result and require you to repack the section.
When talking about an average bubble, we usually refer to the round bubbles. You can learn how to flatten them in our previous article: Safe Repair: Don’t push the bell away right away. A tricky bubble looks different. It usually has a long shape.
When an air bubble forms in a long shape on the vehicle wrap, you need a different approach to remove it. To do this, pierce a small hole at one end with the tip of a 30-degree knife and press towards it from the other side with your finger to release the air.
Obviously you don’t want the hole to be visible. So make it as small as possible. There are specific tools for this, such as a pin. But if you have a 30 degree blade, that is also sufficient. Using a blade such as a 45 degree blade is not recommended as the blade is wide and will create a large hole which also poses the risk of splitting the vinyl film.
The correct sequence is to poke a hole and push the air out of the car wrap. Don’t make it the other way around. If you press first and make the bubble smaller, you only increase the angle. And if you poke and try to push the air out, you get a stiff wrinkle.
When the bell becomes a stiff corner, poking and pushing will no longer work. There is no way to fix it, but pick up the vinyl wrap. Add heat and let the material relax until it flattens out, then reapply.
With some car wraps you do not need to push the air out of the bubble. You can wave heat around the bubble after poking it, and the bubble will flatten itself. If you are unsure of the correct way to handle a material, you can always take a sample piece to test each property prior to application.
These are the quick tips for solving troublesome bubbles and wrinkles. Equip yourself with more helpful wrapping tips for smooth packing at teckwrap.com
DYI
No surface touching: Cut off the excess vinyl safely

When creating vinyl film panels for different sections, installers will always leave extra material for full coverage and for any unexpected situations during the application.
In some cases, cutting off the excess vehicle wrap becomes a challenge, especially when undertaking a color change project. This situation often occurs when packing parts such as a hood or a trunk.
You cannot cut the excess vinyl film directly from the edge as you will need a little more material to wrap around for full coverage. However, it is unwise to wrap around first and cut directly on the paint. Cutting directly on the surface is risky, not to mention doing a tricky backing job.
When this happens, using Knifeless tape seems like the best choice – perhaps depending on how you use it. Usually people apply the cutting tape to the surface before putting the car wrap on it. But this may not be perfect if you use a vinyl film with aggressive adhesive.
Here’s an innovative way to use Knifeless tape that can ignore its aggressive properties and cut safely: Instead of applying the tape to the surface, lay it on the car wrap and cut while leaving the excess in the air hangs.
Keeping in mind how much additional vinyl film you need for full coverage, apply the Knifeless tape symmetrically over the vinyl film. You should leave some extra so you can hold it from the outside.
When applying, stick the tape every two inches with your thumb to secure it (don’t forget to clean your fingers beforehand). Once the tape is completely applied, slide your finger over the tape and place it in place.
Once it’s done, you’re good to go. Hold the tape firmly from the outside, release the string and cut it from the bottom. Do not split the green tape, but continue to pull it steadily and perpendicularly from the outside as you cut the string.
Once you’re done, you’ll get a clean, stress-free cut. Continue learning about wrapping to make your job easier at teckwrap.com
-
 Tesla Wraps1 month ago
Cybertruck Wrap Guide: Vinyl Vs. Paint Protection Film
-
 Commercial Wraps1 month ago
The Evolution of Vehicle Wrap Trends: Past, Present, and Future
-
 Custom Wraps1 month ago
Stand Out From Your Competition Using Unique Commercial Car Wrap Designs
-
 Vinyl Wrap3 weeks ago
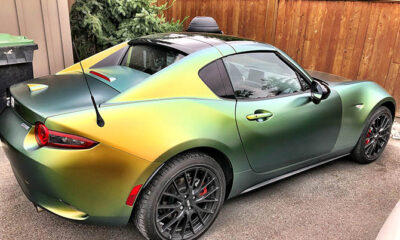
Which Wrap Finish is Right for You?
-

 DYI4 weeks ago
Car Wrap Removal Made Easy: DIY Surface Energy Reducer Spray
-
 Custom Wraps4 weeks ago
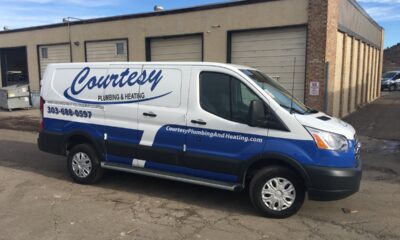
Unleash Your Brand’s Potential Installing a Commercial Car Wrap
-

 Commercial Wraps4 weeks ago
Wrapping Your Fleet: A Comprehensive Guide for Businesses
-

 Custom Wraps1 month ago
Choosing the Perfect Car Wrap for Your Corporate Personality: Showcasing Your Brand’s Vision and Professionalism

